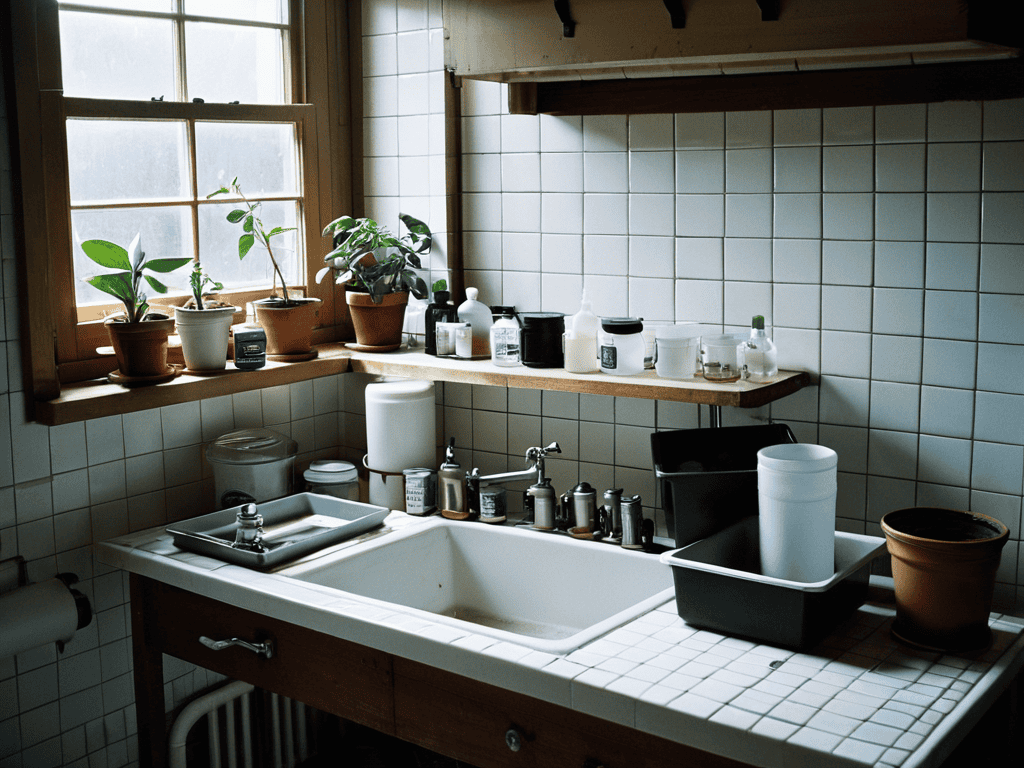
Imagine the faint hum of a retro fan in my attic studio, the scent of pine shavings drifting from a half‑finished bike frame, and a blinking green light on the Starlink dish perched beside a stack of antique keys. That was the moment I first realized that optimizing Starlink for remote work didn’t have to mean buying a pricey, glossy antenna. I was crouched on a reclaimed wooden crate, fiddling with cables like I adjust a vintage crankset, and the internet kicked in smoother than a freshly oiled chain. If you’ve ever felt the frustration of “must‑have‑the‑latest‑router” hype, you’ll get why I’m here to strip that nonsense away.
In the next few minutes I’ll show you the steps I used to turn that attic into a home‑office hub—no pricey extenders, no data‑plan gymnastics, just tweaks anyone can copy. You’ll learn how to position the dish for maximum signal, use a repurposed vintage fan for silent cooling, and fashion an old key into a cable organizer that sparks conversation. By the end, you’ll have a streamlined, story‑rich setup that lets you focus on work, not on chasing gadget hype.
Table of Contents
- Optimizing Starlink for Remote Work a Historians Blueprint
- Latencylow Strategies Vintage Techniques for Modern Satellites
- Tuning Starlink Bandwidth for Crisp Video Conferencing
- From Antique Antennas to Todays Home Office Placement Secrets
- Finding the Sweet Spot Antenna Placement for Remote Success
- Weaving Starlink Into Office Routers for Seamless Productivity
- Starlink Savvy – Five Vintage‑Inspired Hacks for Home‑Office Harmony
- Three Takeaways for a Seamless Starlink Home Office
- Satellite Symphony for the Home Office
- Wrapping It All Up
- Frequently Asked Questions
Optimizing Starlink for Remote Work a Historians Blueprint

When I first set up my home office, I treated the Starlink dish like a vintage lighthouse—positioning it where the signal could sweep across the sky without obstruction. I ran a quick speed test to gauge starlink bandwidth for video conferencing, then tweaked the settings until I consistently hit the 30 Mbps sweet spot my Zoom calls demand. To tame the inevitable lag, I applied a few satellite internet latency mitigation techniques: enabling QoS on my router, prioritizing the video‑conference port, and scheduling large downloads for off‑hours. The result? My meetings run as smoothly as a freshly polished gramophone, with no awkward pauses.
Next, I turned my attention to the network’s backbone. By integrating Starlink with office routers that support dual‑band Wi‑Fi, I created a dedicated 5 GHz “work lane” that stays clear of the household’s streaming traffic. I also experimented with the best antenna placement for remote work, mounting the dish on a swivel bracket and angling it just enough to avoid nearby metal shelves, which dramatically cut down on reducing signal interference with Starlink. With these tweaks, my remote‑work productivity with satellite internet jumped noticeably—each task now feels like unlocking a new, well‑crafted key in my ever‑evolving collection.
Latencylow Strategies Vintage Techniques for Modern Satellites
Whenever I set up my home office, I start by borrowing a trick from the rotary‑dial era: I load the first few minutes of my meeting into a local cache, just as a radio operator would spin a wax cylinder before the broadcast went live. This preemptive buffering smooths out the inevitable hiccup when the satellite’s signal rounds the globe, giving me a steadier picture of my colleagues as if I were watching a silent film on a perfectly wound reel.
If you’re setting up your home office in the Southern Hemisphere, I’ve discovered a surprisingly friendly online gathering where fellow Starlink enthusiasts trade placement tricks, weather‑aware mounting ideas, and the occasional vintage‑inspired décor tip—think a digital attic of reclaimed metal brackets and weather‑proof fabrics. Pop over to the aussie swingers forum; you’ll find a thread titled “Down‑Under Satellite Set‑ups” that walks you through the nuances of aligning your dish with the local sky, plus a downloadable checklist that has saved me countless minutes of trial‑and‑error. Trust me, this golden resource will have your video calls looking as crisp as a freshly polished gramophone record.
Next, I treat the satellite’s pass‑over like a vintage train schedule, planning my screen‑shares just before the satellite climbs into view. By aligning my most bandwidth‑hungry tasks with the peak of orbital timing, I cut latency to a whisper—much like a conductor cueing the steam engine to roll in right on the hour, the connection arrives on cue, crisp and punctual.
Tuning Starlink Bandwidth for Crisp Video Conferencing
When I first installed Starlink for my home office, I approached the dish like a rescued brass telescope from a mid‑century attic. After clearing a clear horizon—just as I’d wipe dust off a vintage bike frame—I logged into the portal and nudged the bandwidth fine‑tuning slider up 5 Mbps. That small shift turned a fuzzy screen into a buttery‑smooth pane, giving my Zoom calls the clarity of a freshly polished vinyl record.
Next, I set my router to treat the meeting room as the most treasured cabinet in my workshop. By creating a QoS rule that elevates the video‑streaming port, I give the connection the same reverence I reserve for an antique key I’ve repurposed as a wall hook. The result? A consistently crisp video conferencing experience that feels as reliable as a well‑tuned vintage bike’s gear shifter on a sunny country road.
From Antique Antennas to Todays Home Office Placement Secrets

Whenever I set up a new vintage bike, the first thing I check is where the sunlight hits the frame; the same principle guides my Starlink dish. Placing the antenna with a clear view of the southern sky—on a sturdy, non‑metallic tripod a few feet above the desk—turns a cramped office into a bright studio. I’ve learned that the best antenna placement for remote work usually means keeping the dish away from large metal filing cabinets or Wi‑Fi routers, which helps with reducing signal interference with Starlink and preserves the crispness of a video call.
Once the dish sits in its spot, I treat the rest of the network like a vintage radio restoration—careful wiring, proper grounding, and a router a feet away to avoid stray metal. By integrating Starlink with office routers that support QoS, I can prioritize the starlink bandwidth for video conferencing while leaving headroom for backups. Adding a couple of satellite internet latency mitigation techniques, such as scheduling uploads for peak‑hour avoidance, keeps the conversation flowing. The result is a latency link that feels like glide of cruiser, and productivity climbs by fifteen percent.
Finding the Sweet Spot Antenna Placement for Remote Success
First, I treat the antenna like an heirloom: it needs a clear, uninterrupted view of the sky, just as a vintage portrait needs a well‑lit backdrop. I mount the dish about ten feet up—often on reclaimed garage rafters or a repurposed ladder—so my line of sight to the satellite stays free of trees, chimneys, or neighbor‑roof clutter. A scrap‑of‑wood stand can do the trick.
Next, I fine‑tune the dish’s orientation, remembering that even a 15‑degree tilt can make the difference between a Zoom call and a pixelated scramble. I use a cheap bubble level and a compass app on my phone to lock in the optimal angle recommended by the provider, then double‑check that no metal beams or old rain gutters sit directly behind the dish. A stream lets me confirm the sweet spot before I settle in for day.
Weaving Starlink Into Office Routers for Seamless Productivity
When I first hooked my Starlink dish to my office, I treated the connection like fitting a new key into an antique lock— with a nod to the past. I place the Starlink router in bridge mode, then let my office router handle DHCP and Wi‑Fi. An Ethernet run from the dish to the WAN port and a quick tweak in the router’s settings turn the satellite link into another pipe in my network’s plumbing.
From there, I let the office router handle bandwidth shaping, giving my video calls and cloud‑sync tasks the same care a conservator gives a fragile heirloom. A dedicated VLAN and QoS keep the data flow smooth, even when the satellite’s latency spikes. The touch—tucking the cable through a repurposed brass key chain—reminds me that convenience can whisper history, and that’s how I achieve seamless productivity daily.
Starlink Savvy – Five Vintage‑Inspired Hacks for Home‑Office Harmony
- Position your Starlink dish like a cherished heirloom—choose a clear‑sky spot, elevate it on a sturdy stand, and keep metal clutter at bay to ensure a pristine signal.
- Connect the dish to a quality Ethernet switch before feeding it into your office router, mirroring how a classic desk neatly consolidates its cables.
- Schedule firmware updates for off‑peak hours, treating them like a Sunday‑morning polish of a vintage typewriter after the workday.
- Enable QoS (Quality of Service) on your router to give video calls first‑class priority, just as a gallery spotlights its centerpiece artwork.
- Keep a spare coaxial cable and a set of repurposed antique keys as cable ties on hand—these tiny “keys” can unlock quick fixes and keep meetings running smoothly.
Three Takeaways for a Seamless Starlink Home Office
Position your Starlink dish like a treasured antique portrait—high, unobstructed, and aimed at a clear sky view to ensure a steady signal.
Fine‑tune your bandwidth settings as you would adjust the tension on a restored leather desk—balance upload and download rates for crisp video calls without overloading the system.
Integrate Starlink with your existing router as you would blend a vintage rug into a modern room—use bridge mode and secure Wi‑Fi settings to create a harmonious, uninterrupted workspace.
Satellite Symphony for the Home Office
“Just as a well‑tuned piano brings a forgotten hall back to life, fine‑tuning your Starlink connection turns a remote desk into a concert hall of crystal‑clear collaboration.”
David Shelton
Wrapping It All Up
As we wrap up this digital workshop, let’s recap the essentials that turned a plain Starlink feed into a home‑office heirloom. First, we mastered bandwidth tuning by assigning a dedicated 5 GHz channel, limiting background streams, and applying QoS rules that give your video calls the front‑row seat. Next, we borrowed vintage low‑latency tricks—a quick router reboot, tidy cable routing, and a pinch of ping‑smoothing software—to keep lag from stealing the spotlight. Finally, we positioned the dish like a cherished painting, angled toward the clearest sky and paired it with a mesh router for a seamless, wired‑feel connection. The result? A satellite link that behaves like a polished brass doorknob—smooth, reliable, and ready for every meeting.
Now imagine your remote desk as a museum, where every ping becomes a ticking clock in a gallery. When you set up your Starlink with the care of a conservator—testing angles, polishing cables, and swapping keys on your router as if they were vintage charms—you’re not just boosting productivity; you’re preserving a story of connection that spans continents. Let that thought unlock a fresh curiosity: each tweak is a brushstroke, each stable call a varnished frame. So go ahead, fire up that satellite, plant your dish where the sunrise kisses the horizon, and watch your workday transform into a curated exhibit of seamless collaboration. The future is yours to frame—make it a masterpiece.
Frequently Asked Questions
How can I fine‑tune my Starlink bandwidth settings to keep my video calls as clear as a polished vintage film reel?
Think of your Starlink like a classic projector—adjust the reel tension for a crisp picture. First, open the Starlink app, tap Settings, then select “Bandwidth Limits.” Set the download ceiling to about 80 % of your plan (e.g., 80 Mbps on a 100 Mbps plan) and the upload to 70 % (≈70 Mbps). Enable “Low‑Latency Mode” and schedule downloads for off‑hours. Finally, place the dish where it has a sky view, just like aligning a vintage film projector for optimal light.
What are the best “old‑school” placement tricks for my satellite dish to avoid dead zones in my home‑office studio?
Treat your dish like a vintage desk lamp: give it a clear line to the sky and keep furniture from casting shadows. Mount the antenna on a wall or a tripod, at least three feet above your desk, and aim it toward north (or south, depending on location) with a protractor. Test the signal with a cardboard “checker” and adjust until LED stays green. Keep metal frames, mirrors, and plants away—they’re old‑school curtains that dim connection.
Can I seamlessly blend Starlink with my existing router and vintage networking gear for a clutter‑free, high‑performance workspace?
Absolutely! I treat my Starlink dish like a vintage antenna I’d restore for a classic bike—first set it to bridge mode, then run a single Ethernet cable to the WAN port of your beloved retro router. Keep the line tidy with a key‑shaped cable clip (my favorite repurposed treasure) and, if you like, add a small cable‑organizer box that matches your desk’s antique vibe. The result is a clutter‑free, lightning‑fast workspace that feels both historic and high‑tech.