I once found myself staring at a mountain of cardboard boxes, remnants of my latest online shopping spree, and I had a revelation. Why not turn this mess into something useful? But let’s be clear, my initial attempts at a DIY photography light box were more Frankenstein’s monster than miracle worker. I was determined, though, armed with nothing but a utility knife, some white paper, and sheer stubbornness. The results? Well, let’s just say my first product photos looked like they were taken in a cave lit by a single flickering candle.
But here’s the truth. Once you figure out the right setup—finding that sweet spot between “cheap” and “functional”—you can transform those sad, shadowy images into shots that actually make your products look appealing. This article will guide you through the chaos of creating your own light box, demystifying the process and sparing you from the mistakes I made. Whether you’re shooting jewelry or gadgets, expect insights on everything from setting up your tent to achieving better lighting without breaking the bank. Let’s get those photos out of the basement and into the spotlight.
Table of Contents
From Shoeboxes to Showstoppers: My Journey Creating a Cheap Photo Tent
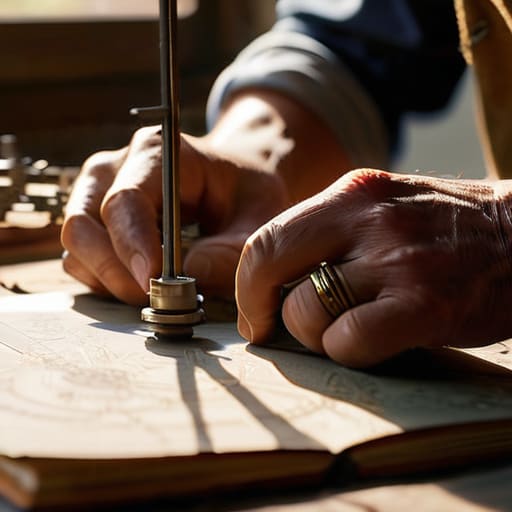
In the early days of my journey with photography, I found myself staring at a pile of shoeboxes, wondering if they could be more than just clutter. My apartment wasn’t exactly spacious, and the idea of investing in professional gear seemed laughable on my budget. But necessity is the mother of invention, and I was determined to create a setup that would make my product photos pop without draining my bank account. So, armed with a utility knife and a vision, I transformed those shoeboxes into a rudimentary photo tent. Sure, it wasn’t perfect, but it was a start—a shoebox turned miracle worker that elevated my shots from amateurish to almost-professional.
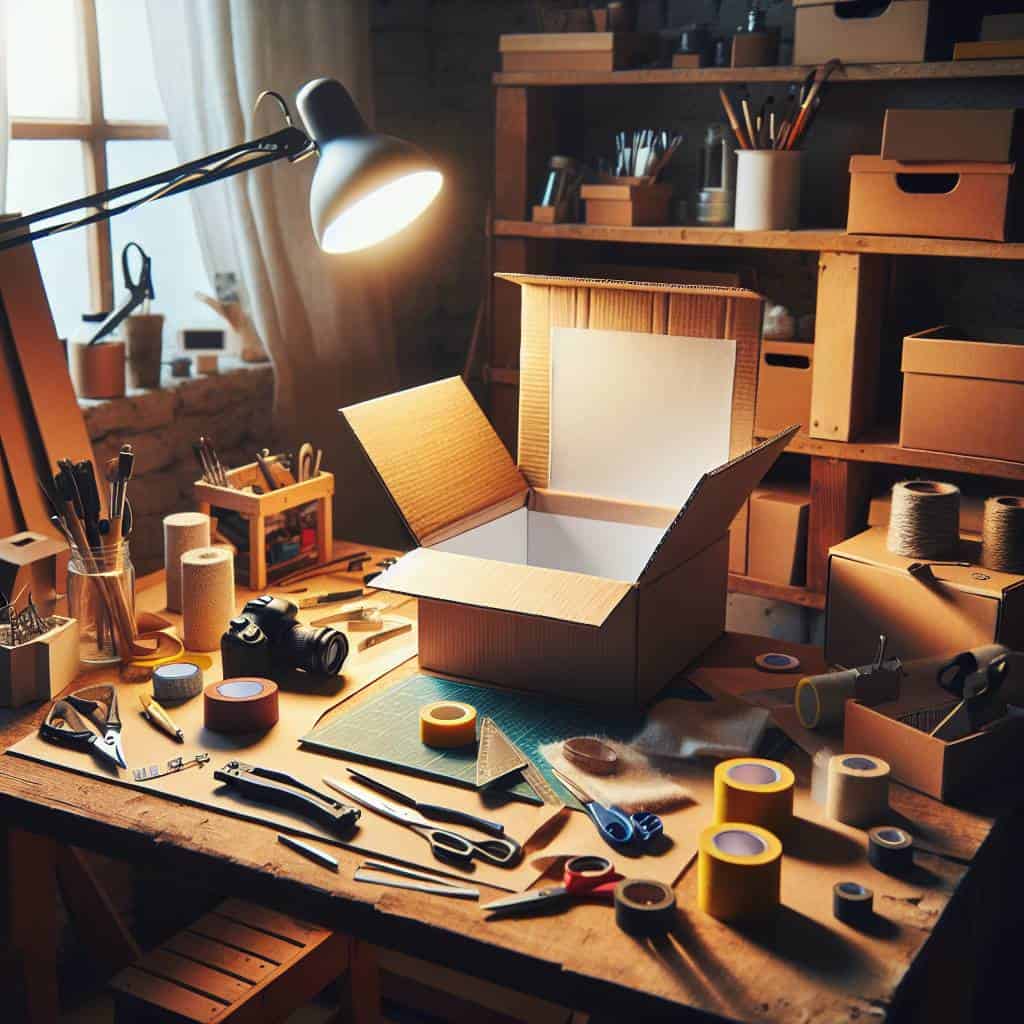
Fast forward a few months, and my shoebox contraption had evolved. I graduated to a larger cardboard box, cutting windows into its sides and covering them with tissue paper to diffuse the light better. It was a revelation—the soft, even lighting made my products look like they belonged in a glossy catalog rather than a cluttered corner of my living room. With a few cheap LED desk lamps strategically placed, my budget setup was complete. Friends started to notice the difference, asking if I’d finally splurged on real equipment. Little did they know, the secret was still just a cardboard box and some ingenuity. This journey taught me that you don’t need to break the bank to create something truly showstopping. Sometimes, all it takes is a bit of creativity and the willingness to see potential in the mundane.
The Art of Turning Trash into Treasure
Why spend big when a humble tent of cardboard can transform your product shots from amateur to pro? A DIY light box setup isn’t just cheap—it’s creative ingenuity in action.
The Unexpected Elegance of Simplicity
In the end, what started as a haphazard experiment with a cardboard box and some old white sheets turned into more than just a DIY light box. It became a testament to the power of simplicity. There’s a certain elegance in stripping away the unnecessary, in realizing that you don’t need a studio full of expensive gadgets to create photos that command attention. My little setup, for all its humble origins, taught me that great design often lies in the unassuming details, quietly doing their job.
Reflecting on this journey, I find a certain satisfaction in knowing that my makeshift tent stands as a small rebellion against the notion that quality demands high cost. It’s not just about crafting better photos, but about embracing resourcefulness and creativity—values that resonate with anyone who has ever felt the thrill of turning the mundane into the extraordinary. This project reminded me that sometimes the best solutions are the ones you cobble together with what’s on hand, and that’s a lesson worth holding onto.