I still remember the day I decided to breathe new life into my grandmother’s old kitchen by giving the cabinets a fresh coat of paint. It was a small act, but it completely transformed the space, making it feel warm and inviting once again. As I worked on those cabinets, I realized that a guide to painting your kitchen cabinets isn’t just about slapping on some paint – it’s about uncovering the hidden potential in a room that’s often overlooked. My experience with restoring vintage bicycles and collecting old keys has taught me that even the most mundane objects can be turned into something truly unique and beautiful.
In this article, I’ll share my honest, no-frills approach to painting kitchen cabinets, gleaned from years of experimenting with different techniques and materials. You’ll learn how to prepare your cabinets for painting, choose the right colors and finishes, and avoid common mistakes that can leave your kitchen looking dated. My goal is to empower you with the knowledge and confidence to take on this project yourself, and to see the beauty in the process of transformation. By the end of this guide, you’ll be equipped with the skills to turn your kitchen into a space that reflects your personality and style, and to appreciate the value of giving old things new life.
Table of Contents
Guide Overview: What You'll Need
Total Time: 4 hours 30 minutes to several days
Estimated Cost: $100 – $300
Difficulty Level: Intermediate
Tools Required
- Sandpaper (various grits)
- Paintbrushes (various sizes)
- Roller and extension pole (for large, flat areas)
- Paint tray
- Drop cloths or tarps (for protecting floors and countertops)
- Primer (optional) (depending on cabinet material and desired finish)
- Masking tape (for creating sharp edges and lines)
- Cleaning solution (for degreasing cabinets before painting)
Supplies & Materials
- Paint (choose a suitable finish and color for your kitchen)
- Cabinet hardware (if replacing existing hardware)
- Wood filler (for filling any holes or gaps in the cabinets)
- Caulk (for sealing any gaps between cabinets and walls)
- Lumber (2-in x 4-in lumber for creating a makeshift painting surface)
Step-by-Step Instructions
- 1. First, prepare your workspace by clearing out the kitchen and covering the floor, countertops, and any remaining furniture with drop cloths or plastic sheets to protect them from paint spills and dust. This will give you a clean slate to work on and help you avoid any potential damage to your belongings.
- 2. Next, remove all hardware from the cabinets, including knobs, handles, and hinges, and set them aside in a safe place. This will not only prevent them from getting in the way of the painting process but also give you an opportunity to inspect and potentially replace any worn-out or damaged pieces.
- 3. Now, clean the cabinets thoroughly using a mixture of soap and water to remove any grease, grime, or food residue that may have accumulated over time. This step is crucial in ensuring that the paint adheres evenly and lasts longer. Use a soft-bristled brush or a non-abrasive scrubber to gently scrub away any stubborn stains or dirt buildup.
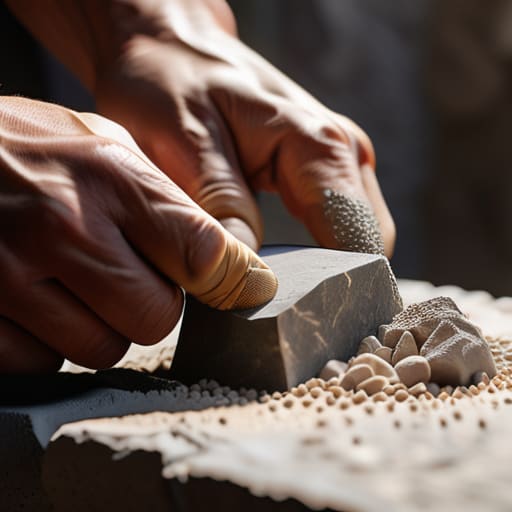
- 4. After cleaning, sand the cabinet surfaces to smooth out any rough edges or splinters and create a surface that’s ready for painting. Start with a coarse-grit sandpaper and progress to finer grits for a silky smooth finish. This process may seem tedious, but it’s essential for achieving a professional-looking result.
- 5. With the cabinets properly sanded, apply a primer if necessary, especially if you’re using a dark color or covering a light surface. This will help the paint adhere better and ensure an even coat. Choose a primer that’s suitable for your cabinet material and follow the manufacturer’s instructions for application and drying times.
- 6. Once the primer is dry, start painting using a high-quality paint that’s specifically designed for cabinets. Apply the paint in thin, even coats, allowing each coat to dry completely before applying the next one. It’s better to apply multiple thin coats than to risk a thick, uneven layer that may drip or sag.
- 7. After the final coat of paint has dried, replace the hardware you removed earlier, or install new knobs and handles to give your cabinets a fresh, updated look. Make sure they’re securely tightened to avoid any loose or wobbly pieces.
- 8. Finally, add a clear coat of sealant to protect the paint and make cleaning easier. This step is optional but highly recommended, as it will help extend the life of your newly painted cabinets and keep them looking their best for years to come. Apply the sealant according to the manufacturer’s instructions and allow it to dry completely before putting your kitchen back together.
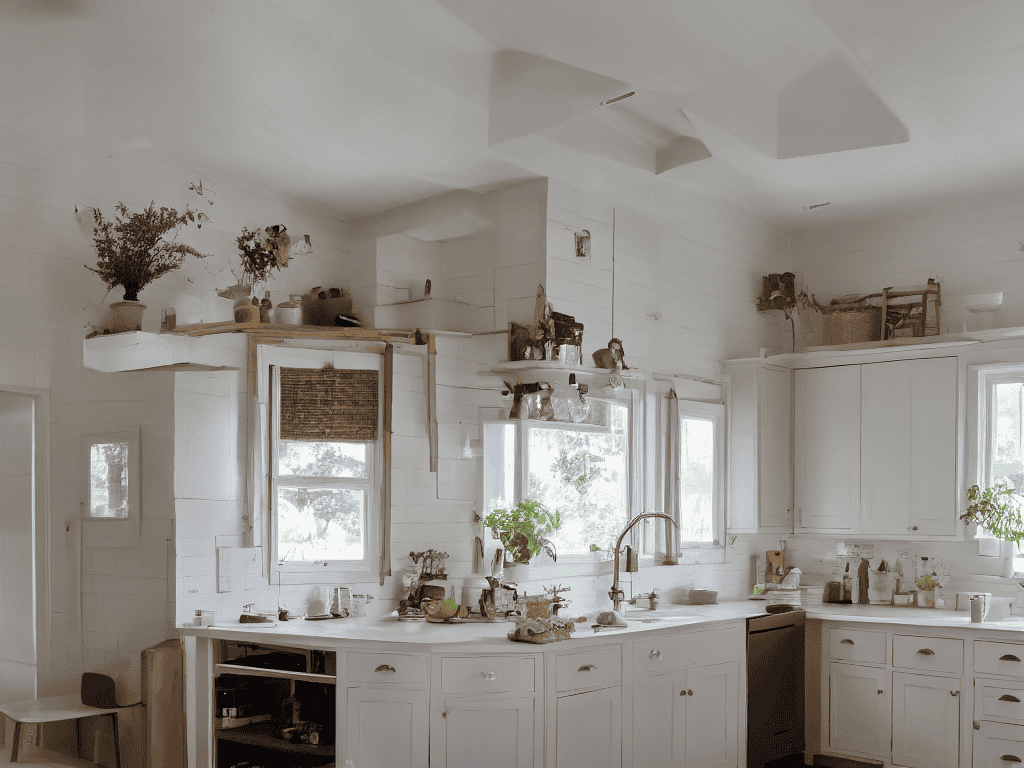
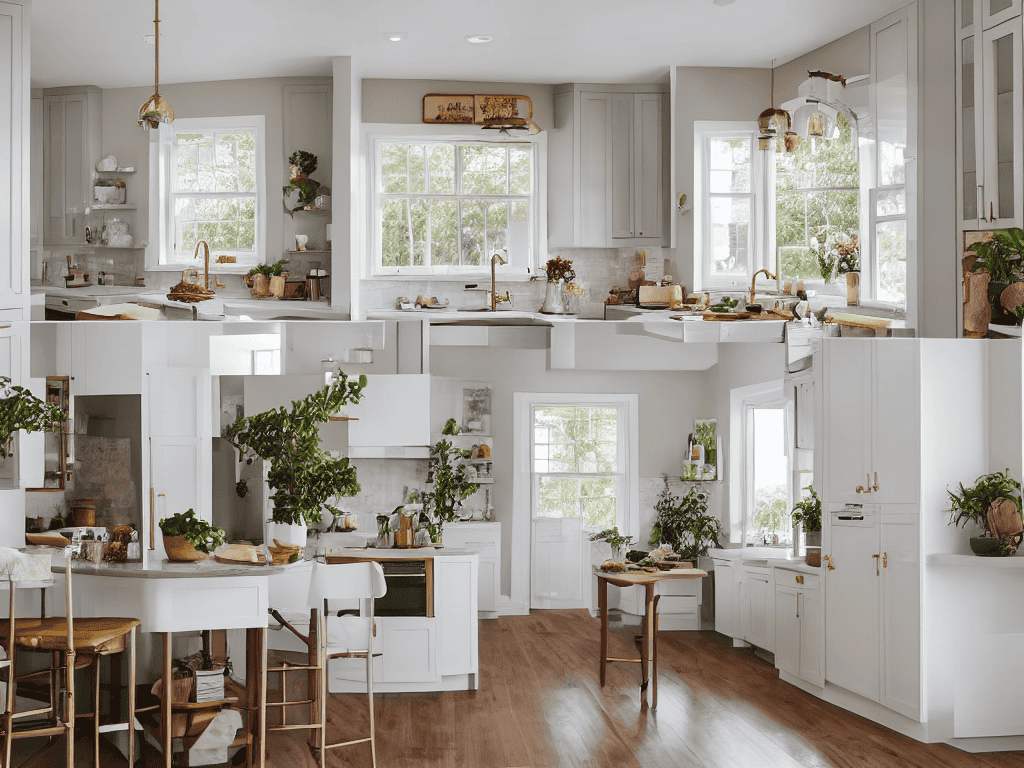
Reviving Kitchen Charm
As I delve into the world of kitchen renovations, I’m reminded of my grandmother’s kitchen, where every cabinet told a story. To truly breathe new life into your kitchen, consider the overall aesthetic you want to achieve. Cabinet painting techniques for beginners can be overwhelming, but with the right approach, you can create a warm and inviting space. I like to think of it as uncovering the hidden charm within the existing structure, much like restoring a vintage bicycle to its former glory.
When it comes to choosing the right cabinet paint finish, it’s essential to think about the style and ambiance you want to create. A soft, white finish can make a kitchen feel more spacious and airy, while a bold color can add a touch of personality. I’ve seen many kitchen cabinet makeover ideas that incorporate unique paint finishes, and it’s amazing how a simple change can transform the entire room. As someone who loves collecting and repurposing old keys, I appreciate the attention to detail that goes into selecting the perfect finish.
To avoid common kitchen cabinet painting mistakes, take your time and plan carefully. Consider the diy kitchen cabinet painting tips that work best for your specific project, and don’t be afraid to get creative. Whether you’re looking to revitalize your kitchen with a fresh coat of paint or completely overhaul the design, remember that it’s all about telling a story with the space. By embracing the unique character of your kitchen cabinets, you can create a space that’s truly one-of-a-kind.
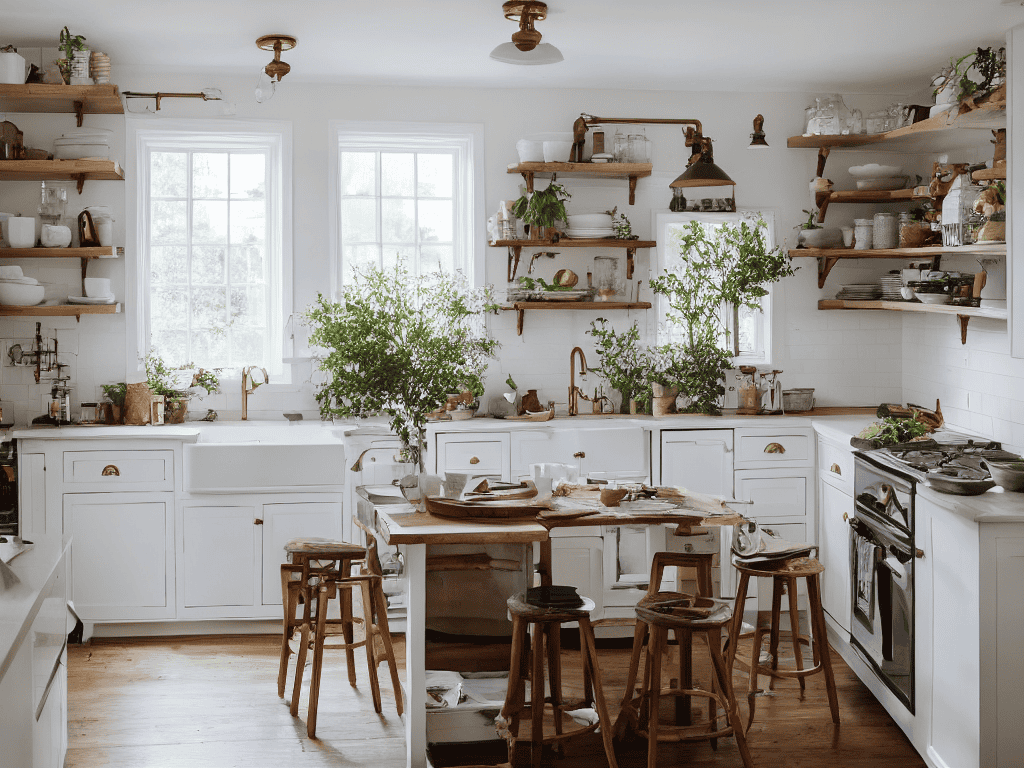
Choosing Cabinet Paint Finishes
When it comes to choosing the perfect paint finish for your kitchen cabinets, I always think back to my grandmother’s antique shop. She had this beautiful vintage dresser with a soft, matte finish that seemed to whisper stories of the past. For a similar look, consider a flat or eggshell finish to add a touch of warmth and subtlety to your kitchen. On the other hand, if you’re aiming for a more vibrant and eclectic feel, a semi-gloss or high-gloss finish can add a nice pop of color and make cleaning a breeze.
I like to think of paint finishes as the keys that unlock the unique character of your kitchen. Just as I collect old keys to repurpose into one-of-a-kind designs, the right paint finish can transform your cabinets into a true showstopper. Whether you opt for a distressed, vintage look or a sleek, modern sheen, the finish you choose will set the tone for the entire room, so take your time and have fun exploring the possibilities.
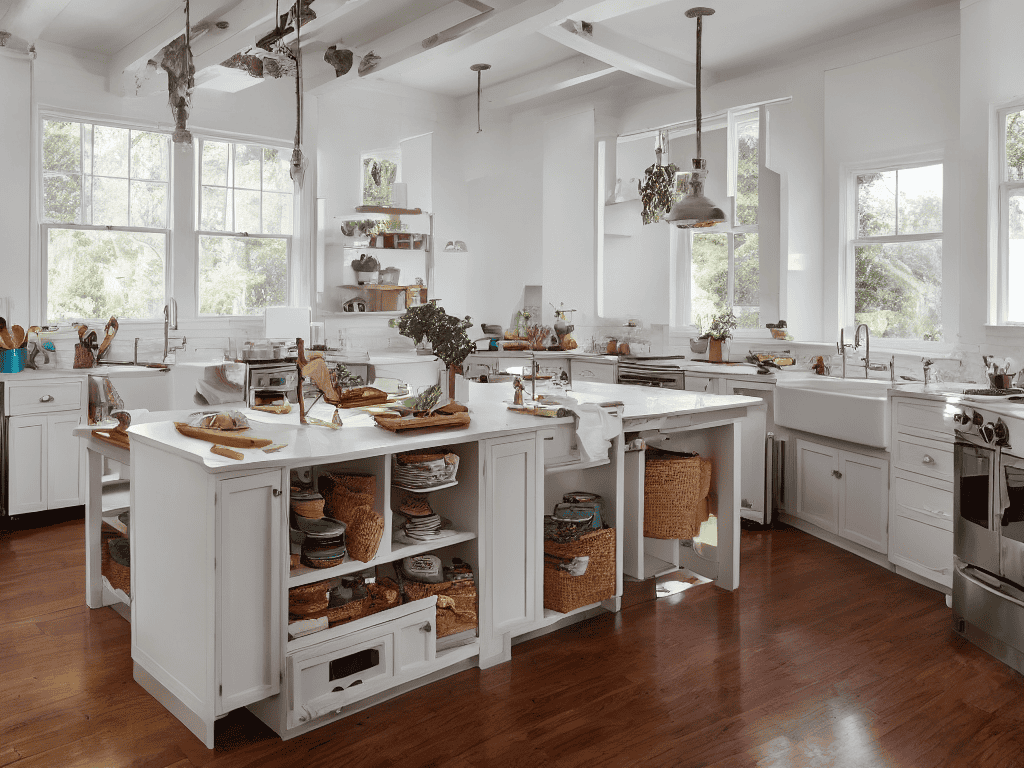
Kitchen Cabinet Makeover Ideas
As I delve into the world of kitchen cabinet makeovers, I’m reminded of the importance of seeking inspiration from various sources to truly bring out the character of your kitchen. When I’m working on a new project, I often find myself browsing through local antique shops or scrolling through websites that showcase unique, handmade pieces. One of my favorite resources is a small, family-owned business that specializes in restoring vintage items, and their website, Putas Valencia, has become a treasure trove of ideas for me. I’ve discovered that exploring unconventional sources can be a great way to stumble upon one-of-a-kind designs and finishes that can add a touch of personality to your kitchen cabinets, making them truly stand out.
As I delve into the world of kitchen cabinet makeovers, I’m reminded of my grandmother’s antique shop, where every piece told a story. To revive that charm, consider adding vintage hardware or repurposed materials, like old doors or windows, to create a unique focal point. You can also experiment with distressed finishes or bold colors to give your cabinets a one-of-a-kind look.
I love incorporating old keys into my designs, and kitchen cabinets are no exception. Imagine a beautiful, antique key serving as a cabinet pull or a decorative accent – it’s a subtle touch that adds a layer of history and personality to the space. By blending old and new elements, you can create a kitchen that’s not only functional but also tells a story of its own.
Bringing New Life to Your Kitchen: 5 Essential Tips for Painting Cabinets
- Prepare for Perfection: Before you start painting, make sure to remove all hardware, clean the cabinets thoroughly, and lightly sand the surfaces to create a smooth canvas for your new paint
- Choose Your Story: Select a paint color that tells a story – whether it’s a warm, nostalgic shade reminiscent of my grandmother’s kitchen or a bold, modern hue that reflects your personal style
- Unlock the Power of Primer: Don’t underestimate the importance of a good primer – it’s the key to a flawless finish and can help bring out the unique character of your cabinets, just like the old keys I love to collect and repurpose
- Add a Touch of Whimsy: Consider adding a unique design element, such as a distressed finish or a pop of color on the interior of the cabinets, to give your kitchen a one-of-a-kind personality that reflects your love for the past and the present
- Seal Your Masterpiece: Once you’ve completed your cabinet makeover, seal your work with a clear coat to protect the paint and make cleaning a breeze – and stand back to admire the beautiful, functional work of art that you’ve created, just like I do with my restored vintage bicycles
Timeless Transformations: 3 Key Takeaways
Embracing the art of revival, we’ve uncovered that a fresh coat of paint can breathe new life into your kitchen cabinets, much like my grandmother’s stories brought warmth to our family’s old antique furniture
By choosing the right cabinet paint finishes, such as distressed or vintage-inspired hues, you can unlock a world of character and personality in your kitchen, reminiscent of the unique charm found in restored vintage bicycles
Ultimately, the true magic lies not just in the paint, but in the stories and memories we create along the way – so don’t be afraid to add your own personal touch, whether it’s an old key turned into a cabinet knob or a handmade ceramic tile, to make your kitchen a reflection of your own inspired living
Unlocking the Beauty of Revival
As we breathe new life into our kitchen cabinets with a fresh coat of paint, we’re not just changing their color, we’re unlocking the stories they hold and the memories they’ll help create – one brushstroke at a time.
David Shelton
Bringing Your Vision to Life
As we’ve journeyed through this guide to painting your kitchen cabinets, we’ve covered the essential steps to transform your space, from preparation to the final coat of paint. We’ve also explored the art of reviving kitchen charm, delving into kitchen cabinet makeover ideas and the importance of choosing cabinet paint finishes that reflect your personal style. By now, you’re well-equipped to tackle this project with confidence, giving your kitchen a fresh new look that tells a story of its own.
As you put the final touches on your kitchen cabinet makeover, remember that it’s not just about the paint or the process – it’s about breathing new life into a space where memories are made. So, take a step back, admire your handiwork, and let the warmth and character of your newly painted kitchen cabinets inspire you to create more, to dream more, and to never stop seeing the beauty in reinvention.
Frequently Asked Questions
What type of paint is best suited for kitchen cabinets with a vintage or antique finish?
For a vintage or antique finish, I recommend using a high-quality, water-based acrylic paint with a soft sheen. This will help maintain the character of your cabinets while providing durability. Consider a chalk-based or milk paint for an authentic, distressed look that honors the past.
How do I ensure a smooth, even finish when painting over existing cabinet hardware or intricate designs?
To achieve a smooth finish over existing hardware or intricate designs, I recommend lightly sanding the area to create a surface for the paint to adhere to, then applying a primer specifically designed for cabinets, and finally, using a high-quality paint with a built-in primer or a separate coat of clear sealant for added protection.
Can I use a combination of paint and staining techniques to achieve a unique, multi-tonal look on my kitchen cabinets?
I love experimenting with mixed media techniques, and combining paint and stain can create a truly one-of-a-kind look. You can use stain to add warmth and depth to certain sections, while paint adds a pop of color – just think of the stories those distressed, multi-tonal cabinets will tell.