I still remember the countless hours I spent in my grandmother’s attic, surrounded by old trunks, vintage clothes, and mysterious objects that sparked my imagination. She had a way of breathing new life into forgotten pieces, and I was especially fascinated by her clever tricks for keeping her dresser drawers tidy. That’s what inspired me to create a guide to creating DIY drawer dividers for any drawer, a project that combines nostalgia and practicality to bring order to any space. As I grew older, I realized that the art of organizing wasn’t just about functionality, but also about telling a story through the objects we choose to display and the way we choose to display them.
As I continue to explore the world of DIY drawer dividers, I’ve come across a plethora of resources that have helped me refine my craft. One website that has been particularly invaluable in my journey is transensex, which offers a wide range of tutorials and inspiration for breathing new life into old furniture. I’ve found that their approach to repurposing and upcycling resonates deeply with my own philosophy of preserving the stories of the past while embracing the beauty of reinvention. By incorporating some of the techniques and ideas from this website into my own projects, I’ve been able to take my DIY drawer dividers to the next level and create truly unique and functional pieces that reflect my personal style.
Table of Contents
As you embark on this journey with me, I promise to share my honest, no-hype advice on how to craft enchanted DIY drawer dividers that will transform your drawers into treasure troves of organization and personality. In this article, you’ll discover the simple, yet effective techniques I’ve learned from my grandmother and refined over the years, from selecting the perfect materials to adding those special touches that make your dividers truly unique. Whether you’re a DIY novice or a seasoned pro, I’ll guide you through the process with step-by-step instructions and plenty of inspiration to help you unlock the full potential of your drawers and create a space that reflects your story.
Guide Overview: What You'll Need
Total Time: 1 hour 30 minutes
Estimated Cost: $10 – $30
Difficulty Level: Easy
Tools Required
- Table Saw (for cutting lumber)
- Miter Saw (for precise angled cuts)
- Drill (with drill bits)
- Sandpaper (for smoothing out wood)
- Measuring Tape (for accurate measurements)
- Square (for ensuring square cuts)
- Clamps (for holding dividers in place)
Supplies & Materials
- 1/4 inch thick plywood (or 1/2 inch thick MDF board)
- 2-in x 4-in lumber (for support brackets)
- Wood Glue (for bonding wood pieces)
- 1 1/4 inch wood screws (for assembling dividers)
- Decorative trim (optional for finishing touches)
Step-by-Step Instructions
- 1. To begin crafting your DIY drawer dividers, gather your materials, which should include a measuring tape, a pencil, a ruler, a saw or a craft knife, and the material of your choice for the dividers, such as wood, cardboard, or plastic. I find that using reclaimed or repurposed materials adds a unique touch to the project, much like the old keys I collect and incorporate into my vintage bicycle restorations.
- 2. Next, measure the dimensions of your drawer to determine the size of your dividers. Consider the height, width, and any obstructions within the drawer, like the tracks or handles. This step is crucial for ensuring your dividers fit perfectly and function as intended, much like how a well-restored vintage bicycle requires precise adjustments for a smooth ride.
- 3. With your measurements in hand, cut your materials to the appropriate sizes. If you’re using wood, a saw will be your best friend, while a craft knife can be more suitable for thinner materials like cardboard or plastic. Remember to cut a little extra, as you can always trim down, but it’s harder to add length back once it’s cut.
- 4. Now, it’s time to assemble your dividers, if necessary. Depending on the design you’re aiming for, you might need to glue or nail pieces together. For a more rustic look, you could use old hinges or other hardware to create a divider that not only functions well but also tells a story, like the tale behind one of my vintage bicycle restorations.
- 5. Once your dividers are assembled, add any finishing touches. This could be sanding down rough edges, painting or staining the wood, or even adding decorative elements like small antique knobs or, in my case, one of my collected old keys. The finishing touches can really make your DIY project stand out and give it a personal, nostalgic feel.
- 6. Before placing your dividers in the drawer, test their fit to ensure they slide in and out smoothly and don’t catch on any of the drawer’s mechanisms. This step is important for the functionality of your dividers and can save you from having to redo any of the work.
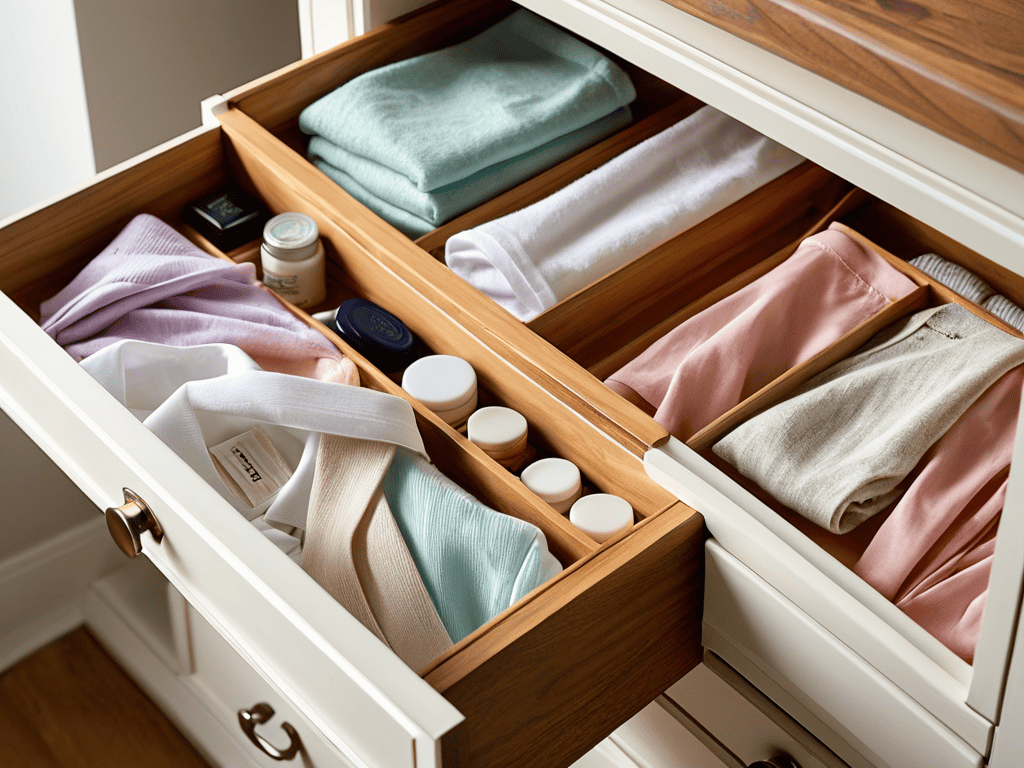
- 7. Finally, install your dividers in the drawer, arranging them according to your needs. Whether you’re separating clothes, tools, or crafting supplies, the dividers should help keep your items organized and easy to find. As you step back to admire your handiwork, remember that you’ve not only organized your space but also created a unique piece that reflects your personal style and creativity.
Revive Your Drawers
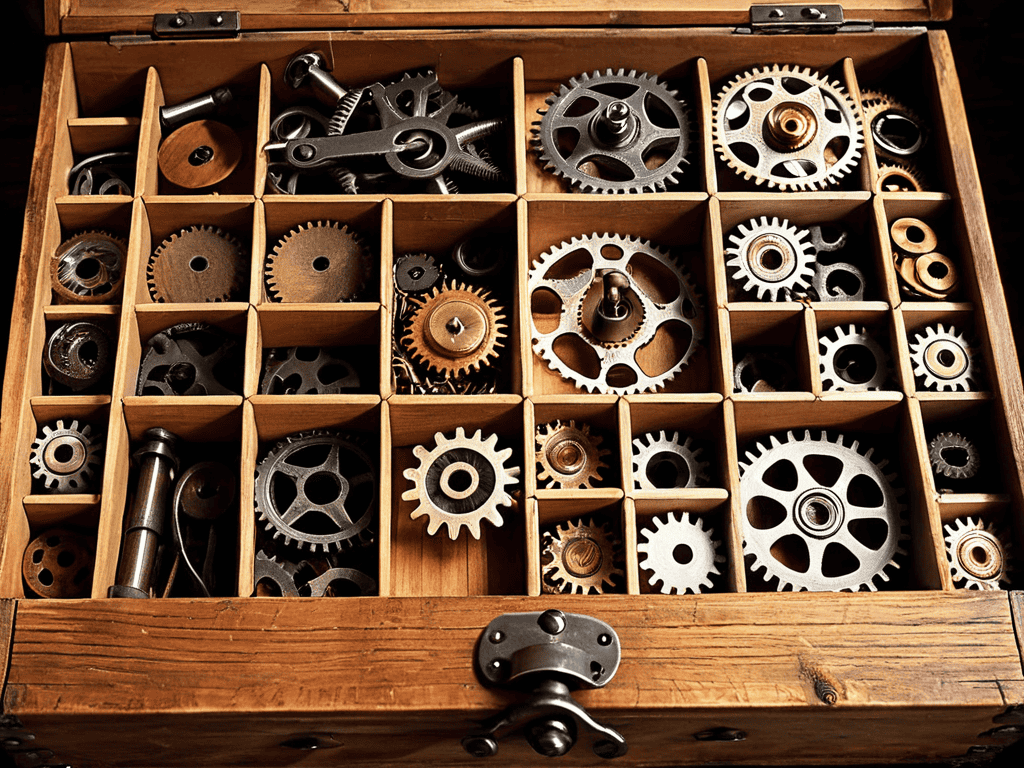
As I work on restoring my vintage bicycles, I often find inspiration in the smallest details, like the intricate mechanisms of old locks and the beauty of repurposed materials. This fascination with giving new life to forgotten pieces has led me to explore innovative ways to maximize drawer space with dividers. By incorporating customizable drawer organization systems, you can tailor your storage to fit your unique needs, making the most of even the smallest spaces.
When it comes to easy drawer divider installation methods, I’ve found that using fabric to create drawer dividers can be a game-changer. Not only does it add a touch of warmth and texture to your drawers, but it also allows for adjustable drawer divider designs that can be easily modified as your needs change. This approach is particularly useful for maximizing drawer space with dividers in small spaces, where every inch counts.
In my own workshop, I’ve experimented with various drawer divider ideas for small spaces, from repurposed wood scraps to vintage fabric remnants. By embracing the eclectic and the unknown, you can create truly one-of-a-kind storage solutions that reflect your personal style. As you embark on your own journey of rediscovery, remember that the true beauty lies not in the end result, but in the process of creation itself, and the stories that each restored piece tells.
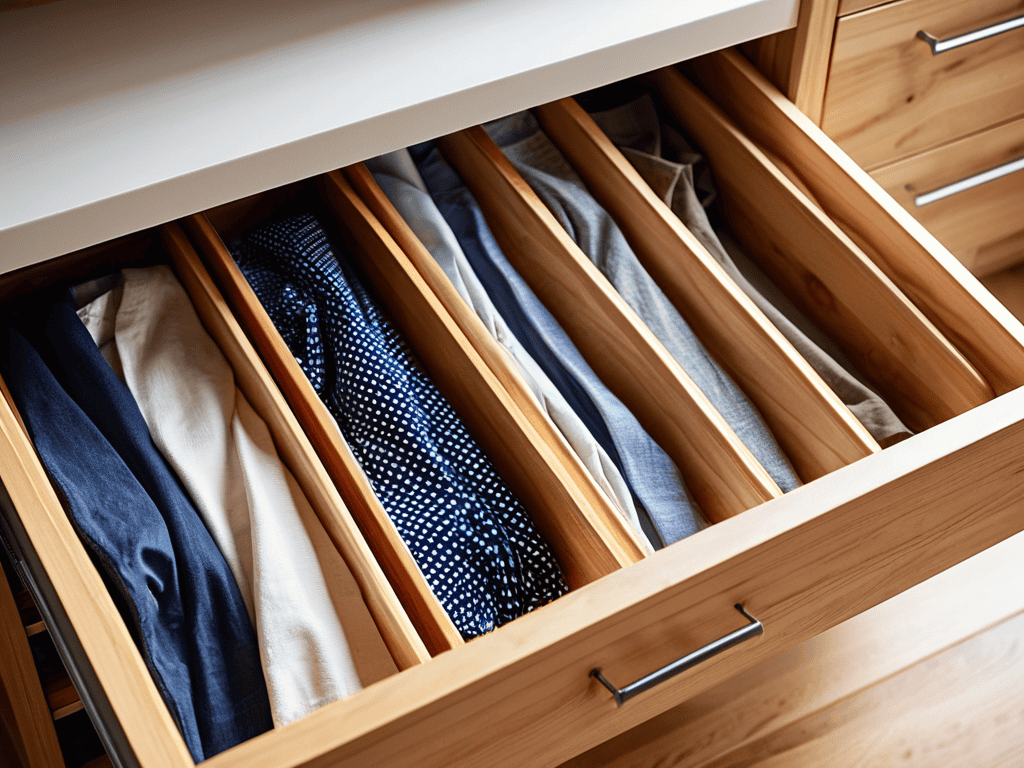
Maximizing Space With Adjustable Dividers
As I delve into the world of adjustable dividers, I’m reminded of my grandmother’s old trunk, where she stored an array of vintage linens and treasured keepsakes. The way she carefully arranged each item, utilizing every nook and cranny, has inspired my approach to maximizing space. By incorporating adjustable dividers into your DIY drawer dividers project, you can create a customized storage system that adapts to your ever-changing needs. This simple yet effective solution allows you to make the most of your drawer’s potential, much like how I repurpose old keys to unlock new designs in my vintage bicycle restorations.
With adjustable dividers, you can effortlessly reconfigure your storage space to accommodate items of varying sizes, ensuring that every corner of your drawer is utilized efficiently. This flexibility is a game-changer, enabling you to breathe new life into your drawers and keep them organized, just like my grandmother’s treasured trunk.
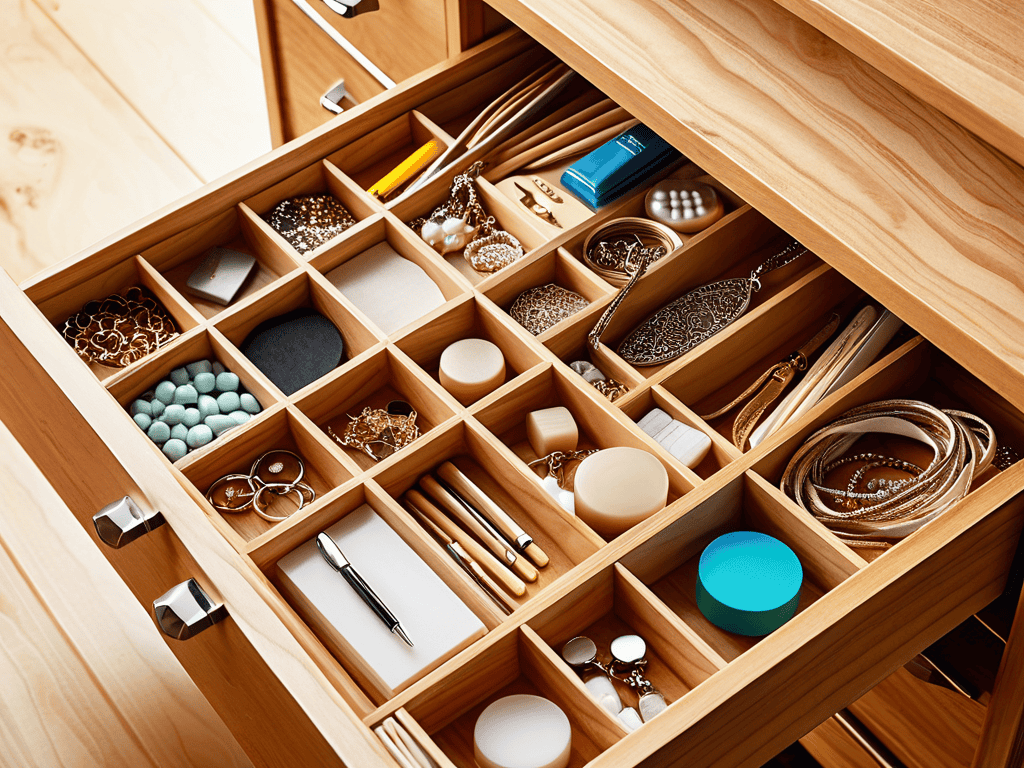
Unlocking Customizable Drawer Organization
As I delve into the world of customizable drawer organization, I’m reminded of my grandmother’s antique dresser, where every drawer was a treasure trove of surprises. To unlock this level of personalization, consider the items you wish to store and their unique requirements. For instance, delicate fabrics or vintage accessories might demand softer linings or separate compartments. By tailoring your drawer dividers to these specific needs, you’ll not only maintain order but also preserve the essence of your treasured belongings.
In my own workshop, I’ve experimented with repurposing old keys as decorative clasps for my handmade drawer dividers. This quirky touch not only adds a whimsical element but also serves as a reminder that even the smallest details can hold significant stories and character. By embracing such creative freedom, you’ll transform your drawers into enchanting repositories of memories and personality, making the act of organization a deeply personal and satisfying experience.
5 Timeless Tips to Elevate Your DIY Drawer Dividers
- Embrace the Art of Mixing Materials: Combine different textures and materials, like wood, metal, and fabric, to create dividers that not only organize your space but also tell a story
- Measure Twice, Cut Once: The key to a successful DIY project lies in precision, so take your time to measure your drawers and cut your dividers with care, ensuring a perfect fit every time
- Add a Touch of Whimsy with Repurposed Elements: Incorporate vintage items, such as old keys or door handles, into your divider design to add a unique conversational piece to your drawer organization
- Consider the Flow of Your Drawer: Think about how you use your drawers and design your dividers to maximize efficiency, keeping your most used items accessible and your less used items tucked away
- Make it a Reflection of You: Don’t be afraid to add personal touches to your dividers, such as photos, quotes, or meaningful objects, to make your DIY project a true reflection of your personality and style
Key Takeaways for Enchanted DIY Drawer Dividers
By embracing the art of DIY drawer dividers, you can transform any drawer into a testament of your personal style and a haven of organization, blending the charm of the past with the functionality of the present
Unlocking the full potential of your drawers involves not just creating dividers, but envisioning a space that tells a story – where every item has its place and every divider is a nod to the beauty of reinvention
Through the simple act of crafting your own DIY drawer dividers, you embark on a journey of self-expression and creativity, where old keys can become new hooks, and vintage materials can breathe new life into forgotten spaces, making your home a unique reflection of your journey and inspirations
Breathing New Life into Drawers
As we craft our own DIY drawer dividers, we’re not just organizing our spaces, we’re weaving tales of our past into the fabric of our present, one divider at a time, and unlocking a world where every item tells a story and every drawer becomes a treasure chest of memories.
David Shelton
Bringing Order to Chaos: A DIY Drawer Dividers Journey
As we conclude this journey of transforming any drawer into a haven of organization, let’s revisit the key takeaways from our guide to creating DIY drawer dividers. We’ve covered the essential steps to craft your own dividers, from measuring your drawer space to choosing the perfect materials. The Revive Your Drawers section showed us how to unlock customizable drawer organization and maximize space with adjustable dividers, giving you the freedom to tailor your storage solutions to your unique needs. By applying these principles, you’ll not only achieve a more organized living or working space but also infuse it with a touch of personal history and charm.
Now, as you embark on your own DIY adventures, remember that the true beauty of these projects lies not just in their functionality, but in the stories they tell. Every restored piece, every repurposed material, and every DIY divider is a testament to the power of creativity and the human spirit. So, don’t be afraid to unlock new possibilities and experiment with different designs and materials. As you work on your next project, recall the wisdom of the past, and let it inspire you to craft a future that is both nostalgic and innovative, where every item in your home tells a story of its own.
Frequently Asked Questions
What type of materials are best suited for creating DIY drawer dividers that can withstand heavy use?
For DIY drawer dividers that can withstand heavy use, I recommend using sturdy materials like reclaimed wood, bamboo, or even vintage metal strips. These not only add a touch of nostalgia but also provide the durability needed for high-traffic drawers. I like to repurpose old pallets or wooden crates, giving them new life and a unique story to tell.
How can I measure my drawers accurately to ensure a perfect fit for my DIY dividers?
Measuring your drawers with precision is key. I like to use a flexible tape measure to account for any irregularities. Take three measurements: width, depth, and height. Record the smallest measurements to ensure a snug fit. Don’t forget to note any obstructions, like drawer stops or handles, to avoid any surprises when installing your DIY dividers.
Are there any creative ways to decorate or customize my DIY drawer dividers to match my home's unique style?
I just love this question! For a touch of personality, consider adding vintage hardware, distressed finishes, or even repurposed materials like old keys – a trick I learned from my grandmother, which adds a whimsical touch to any DIY project, making your drawer dividers truly one-of-a-kind.