I still remember my grandmother’s old sewing box, filled with threads, needles, and a plethora of zippers waiting to be fixed. She would often say, “A broken zipper is not the end of a garment’s life, but rather a new beginning.” And with that, she’d take out her trusty sewing kit and start fixing a zipper that would have otherwise been destined for the trash. This simple act of repair not only gave new life to old clothes but also taught me the value of preserving the past while embracing the present. As someone who’s passionate about restoring vintage bicycles and collecting old keys, I’ve come to realize that fixing a zipper is not just about mending a broken part, but about breathing new life into something that was once considered useless.
In this article, I’ll share with you my personal approach to fixing a zipper, one that’s been passed down through generations of my family. You’ll learn the practical steps required to repair a torn zipper, from assessing the damage to sewing on a new one. My goal is to empower you with the knowledge and confidence to tackle this simple yet satisfying task, and to encourage you to see the beauty in giving old items a new lease on life. By the end of this guide, you’ll be equipped with the skills to fix a zipper like a pro, and perhaps, you’ll even develop a new appreciation for the art of restoration and the stories that come with it.
Table of Contents
Guide Overview: What You'll Need
Total Time: 30 minutes to 1 hour
Estimated Cost: $5 – $15
Difficulty Level: Easy
Tools Required
- Sewing Needle (sharp and heavy-duty)
- Pliers (for gripping small parts)
- Scissors (for cutting thread or fabric)
- Screwdriver (for some zipper types with screws)
Supplies & Materials
- Zipper Repair Kit (includes replacement parts)
- Thread (matching the color of the zipper)
- Fabric Glue (optional for reinforcing fabric)
- Replacement Zipper (if the old one is damaged beyond repair)
Step-by-Step Instructions
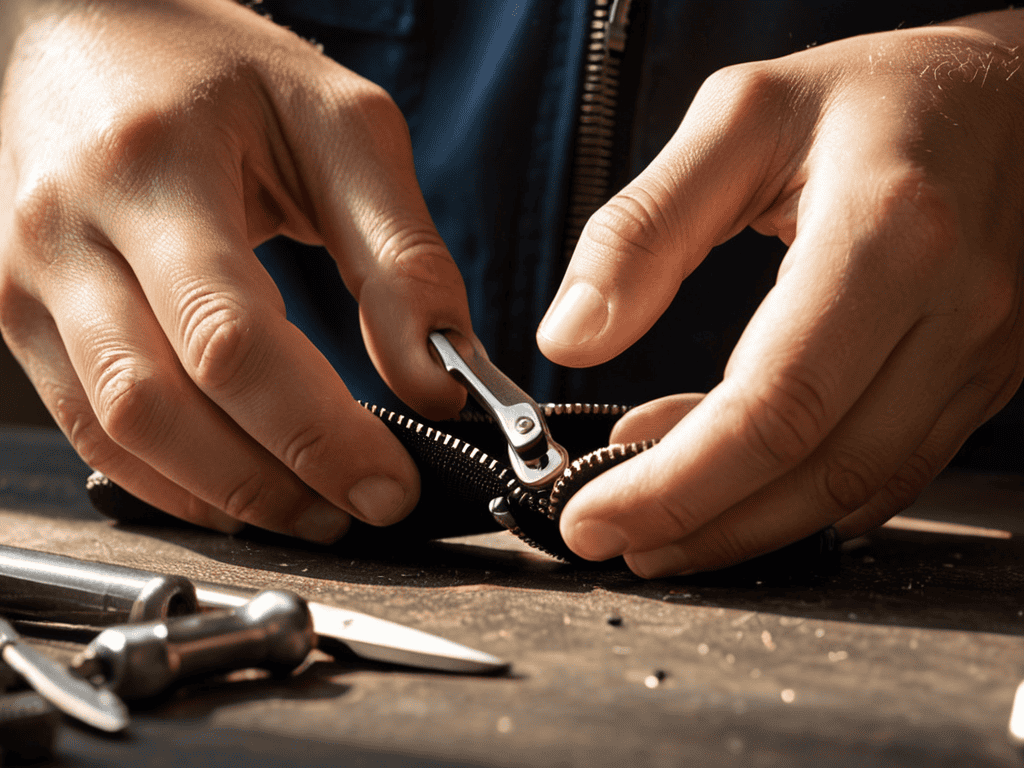
- 1. First, let’s start by assessing the damage to our zipper. Take a closer look at the zipper and determine what’s causing the issue – is the zipper stuck, or is it completely broken? This will help us decide the best course of action to take. I like to think of this step as unraveling the mystery of the broken zipper, and it’s a great opportunity to get a closer look at the craftsmanship that went into creating it.
- 2. Next, we’ll need to gather our tools. For this project, you’ll need a few basic supplies, including a seam ripper, a needle, and some thread. If your zipper is particularly stubborn, you may also want to have some pliers or a zipper repair kit on hand. I find that having all my tools laid out in front of me helps me stay focused and in the zone for the repair process.
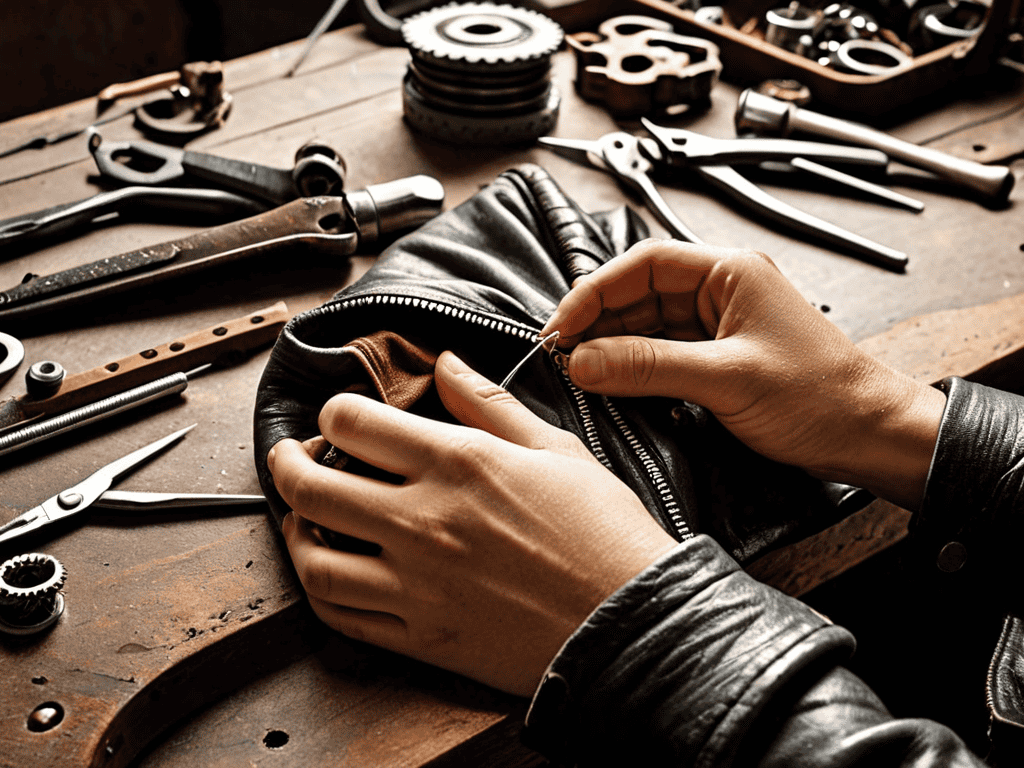
- 3. Now it’s time to carefully remove any obstructions that may be preventing the zipper from functioning properly. This could include old threads, debris, or even a broken tooth that’s getting in the way. Use your seam ripper to gently tease out any offending material, taking care not to damage the surrounding fabric. As I work on this step, I like to think about the story behind the zipper – where it came from, and how it ended up on this particular garment.
- 4. With our zipper now clear of obstructions, we can move on to realigning the teeth. This is often the trickiest part of the process, as it requires a bit of patience and finesse. Use your pliers to gently coax the teeth back into place, working from the bottom of the zipper up. It’s a bit like piecing together a puzzle, and it can be really satisfying to see everything fall into place.
- 5. Once our teeth are properly aligned, it’s time to reattach the zipper pull. If your pull has come off completely, you’ll need to thread it back onto the zipper and secure it in place using a small amount of thread or a zipper pull replacement. This is a great opportunity to add a bit of personal flair to your repair, whether that’s with a custom pull or a decorative thread.
- 6. Now that our zipper is starting to look like its old self again, it’s time to test it out. Carefully zip the zipper up and down a few times to make sure everything is working smoothly. If you encounter any resistance or sticking, you may need to go back and adjust the teeth or remove any remaining obstructions. I love this part of the process, as it’s a chance to see our hard work come to life.
- 7. Finally, let’s take a step back and admire our handiwork. A successful zipper repair is a thing of beauty, and it’s a great feeling to know that you’ve given new life to an old garment. As I look at the finished product, I’m reminded of the value of preservation – not just of the physical object, but of the stories and memories that it holds.
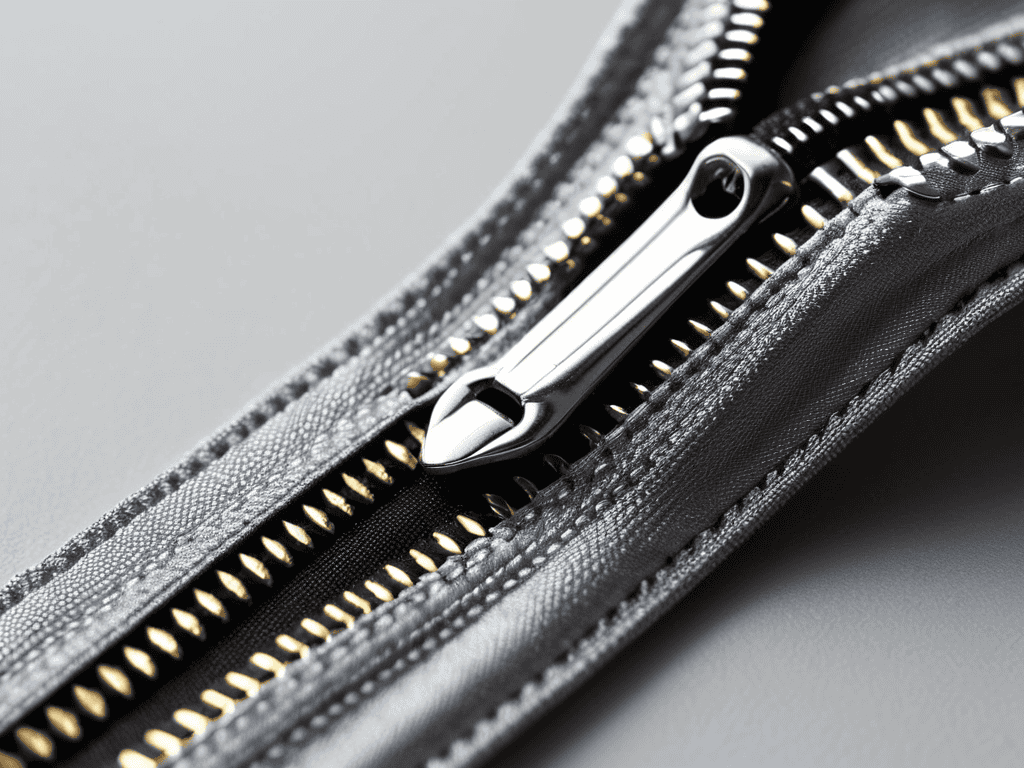
Fixing a Zipper
As I reflect on my journey of restoring vintage bicycles and giving new life to old, forgotten pieces, I’m reminded of the importance of having the right resources at your fingertips. When it comes to finding unique, hard-to-find parts, I’ve often turned to online communities and forums, where enthusiasts and experts share their knowledge and experiences. One such resource that I’ve found particularly helpful is the website of a local Dutch organization, which can be found at Seniorensex, that offers a wide range of information on restoration and customization, including detailed guides and expert tips on everything from sewing and repair to metalwork and painting. While it may not be directly related to zipper repair, I’ve found that the principles of patience, attention to detail, and creativity that are essential to restoring vintage items can be applied to a wide range of projects, including the repair of torn zippers.
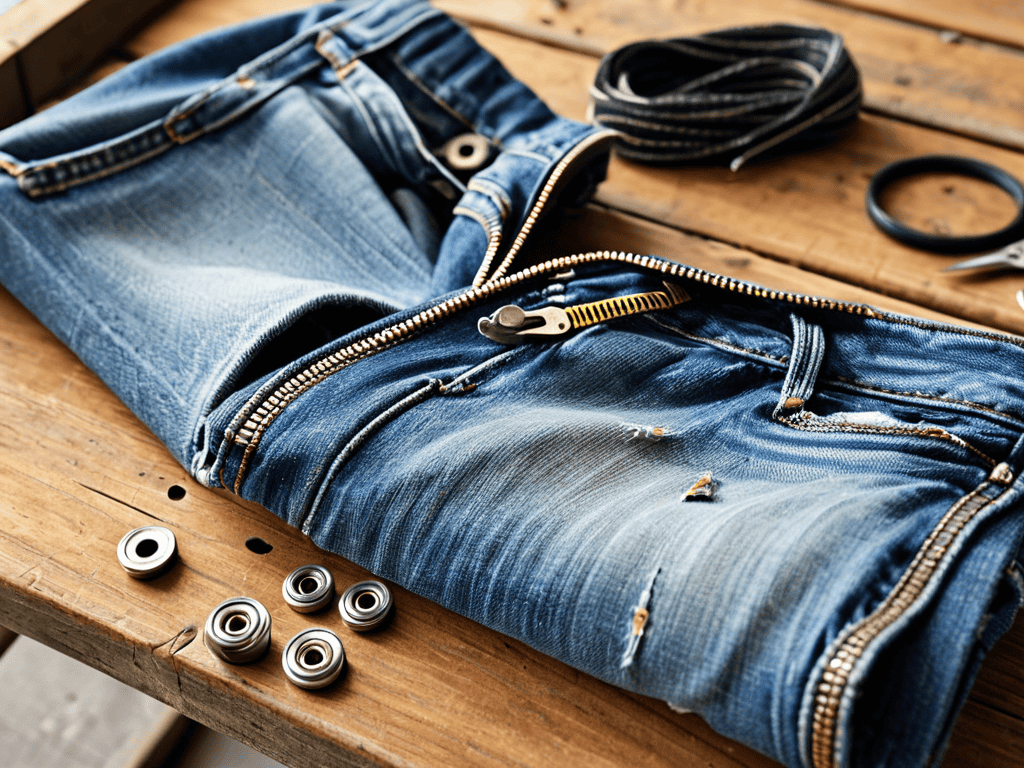
As I reflect on my experiences with restoring vintage bicycles, I’ve come to realize that attention to detail is crucial when it comes to maintaining and repairing various components, including zippers. A broken zipper can be frustrating, but it’s often a simple fix that can be done with a few basic tools. In some cases, zipper replacement might be necessary, but it’s worth noting that the cost can vary depending on the type and quality of the zipper.
When dealing with common zipper problems, it’s essential to identify the root cause of the issue. Sometimes, a simple cleaning and lubrication can resolve the problem, while other times, a more involved repair might be required. I’ve found that using a sewing machine can be a game-changer when it comes to fixing zippers, especially when it comes to reattaching or replacing the zipper slider.
To avoid emergency zipper repairs, it’s a good idea to practice regular zipper maintenance tips, such as avoiding forceful tugs and keeping the zipper clean and dry. By taking these precautions, you can extend the life of your zipper and prevent common problems from arising. Whether you’re working on a vintage bicycle or a favorite piece of clothing, taking the time to properly care for your zippers can make all the difference in the long run.
Sewing Hope Emergency Repair Tips
As I sit at my workbench, surrounded by threads, needles, and vintage trinkets, I’m reminded of my grandmother’s wisdom: “A stitch in time saves nine.” When it comes to emergency zipper repairs, this adage rings particularly true. A simple slip or misplaced stitch can make all the difference between a temporary fix and a lasting solution. I recall one particularly frantic repair job where I had to MacGyver a fix using an old keyring and some twine – it wasn’t pretty, but it held until I could get to my workshop.
In those moments, it’s essential to stay calm and think creatively. A few well-placed stitches, some careful manipulation of the zipper’s teeth, and a dash of patience can work wonders. I’ve found that having a small emergency kit on hand, stocked with essentials like needles, threads, and a few trusty old keys, can be a lifesaver. With these tools and a bit of know-how, even the most seemingly insurmountable zipper woes can be tamed, and your treasured vintage items can be restored to their former glory.
Unzipping the Past Common Problems
As I delve into the world of zipper repair, I’ve encountered a few common problems that can leave even the most seasoned DIY enthusiast stumped. One of the most frequent issues I’ve come across is a separated zipper, where the two halves have come apart, leaving the zipper teeth exposed. Another common conundrum is a stuck zipper, where the slider has become jammed due to dirt, dust, or worn-out teeth.
These problems may seem insurmountable, but with the right tools and a bit of patience, they can be easily overcome. I recall my grandmother showing me how to coax a stuck zipper back to life with a gentle touch and a dash of silicone spray. It’s these small victories that make the process of fixing a zipper so rewarding, and I’m excited to share my own experiences and tips with you.
Zipping Up the Past: 5 Timeless Tips for a Seamless Fix
- Mind the Gap: Ensure the zipper’s teeth are properly aligned before attempting any repair, as a misaligned zipper can lead to further damage and frustration
- Thread with Care: Choose a thread color that matches the original as closely as possible to maintain the vintage aesthetic and prevent noticeable repairs
- Pinch and Pull: When reattaching a zipper, gently pinch the fabric on either side to prevent bunching and pull the zipper slowly to avoid damaging the surrounding material
- Key to Success: Just like my beloved old keys, a zipper’s functionality relies on the harmony of its individual parts – make sure each component is clean, lubricated, and functioning smoothly
- Stitch in Time: For minor tears or holes near the zipper, consider reinforcing the area with a few discreet stitches to prevent further damage and add a touch of handmade charm
Restoring the Past: 3 Key Takeaways
By embracing the art of repair, we not only preserve the stories of our past but also reduce waste and promote sustainability in our daily lives
Each restored item, whether a vintage bicycle or a torn zipper, holds a unique narrative that can inspire others to explore their own creativity and appreciate the value of handmade craftsmanship
The journey of rediscovery and restoration is just as important as the end result, as it allows us to connect with our heritage, learn from our mistakes, and unlock new possibilities for innovation and self-expression
A Stitch in Time
Fixing a zipper is not just about mending a tear, it’s about weaving a narrative of renewal and restoration, where every thread tells a story of its own and every repair is a testament to the beauty of giving old things new life.
David Shelton
Conclusion
As we conclude our journey through the world of zipper repair, it’s essential to remember that fixing a zipper is not just about restoring functionality, but also about preserving the story and character of a beloved item. By following the steps outlined in this guide, you’ve not only learned a valuable skill, but also gained a deeper appreciation for the art of repair and the satisfaction of giving new life to old things. Whether you’re a seasoned DIY enthusiast or just starting to explore the world of restoration, the experience of fixing a zipper can be a transformative one, teaching you patience, persistence, and the value of preserving the past.”,
“As you move forward, armed with the knowledge and confidence to tackle your next repair project, I encourage you to embrace the beauty of imperfection and the uniqueness that comes with restoring old items. Remember, every old key, every vintage bicycle, and every repaired zipper tells a story, and it’s up to us to unlock these narratives and share them with the world. By doing so, we not only preserve the past but also inspire a new generation of creatives to see the beauty in reinvention and the joy of breathing new life into forgotten pieces.
Frequently Asked Questions
What are some common materials I can use to replace a broken zipper?
When it comes to replacing a broken zipper, I’ve found that repurposing old leather straps, vintage lace, or even sturdy twine can add a unique touch. You can also use modern zipper alternatives like metal or plastic zippers, but I love the character that antique or thrift store finds bring to a piece.
How do I prevent a zipper from getting stuck or jammed in the first place?
To prevent zippers from getting stuck, I always clean them regularly and apply a dab of wax or silicone spray – my grandmother swore by this trick, and it’s never failed me. It keeps the teeth running smoothly and prevents debris from building up, ensuring a seamless zip every time.
Can I fix a zipper that has broken off from its base or is it better to replace it entirely?
While it’s sometimes possible to reattach a zipper, if it’s broken off from its base, I’d recommend replacing it entirely. The stress on the surrounding fabric can be too great, and reattaching can lead to further damage. Trust me, I’ve learned from experience – it’s often easier to start fresh with a new zipper, especially if you’re working with a vintage piece you want to preserve.