I still remember the first time I stumbled upon an old, dusty brass lamp in my grandmother’s attic. It was love at first sight, and I was determined to bring it back to its former glory through the process of Restoring Brass Lamp. As I began to work on it, I realized that many people believe that restoring old lamps is a daunting task that requires specialized skills and equipment. However, I’ve found that with a little patience and creativity, anyone can breathe new life into these beautiful pieces of history. My grandmother, a skilled seamstress and antique collector, taught me that the true beauty of restoration lies not just in the end result, but in the story behind each piece.
As you read through this guide, I promise to share with you my honest and practical advice on Restoring Brass Lamp, gathered from years of experience and a passion for preserving the past. You’ll learn how to identify the right materials, techniques, and tools to bring your old brass lamp back to life, and how to avoid common mistakes that can damage the piece. My goal is to empower you with the knowledge and confidence to take on your own restoration projects, and to appreciate the unique character and history that each piece embodies. Whether you’re a seasoned restorer or a beginner, I invite you to join me on this journey of discovery and creativity, as we uncover the beauty of Restoring Brass Lamp together.
Table of Contents
Project Overview
Total Time: 2 hours 30 minutes
Estimated Cost: $20 – $40
Difficulty Level: Intermediate
Tools Required
- Soft-bristled toothbrush ((for applying polish))
- Cotton cloth ((for polishing and cleaning))
- Rubber gloves ((for protecting hands from polish))
- Steel wool ((for removing old finish))
- Wire brush ((with soft bristles for delicate areas))
Supplies & Materials
- Brass polish ((specifically designed for brass))
- Lacquer thinner ((for removing old lacquer))
- Clear wax ((for protecting the restored finish))
- Masking tape ((for protecting surrounding areas))
- New lamp harp or finial ((if the old one is damaged))
Step-by-Step Instructions
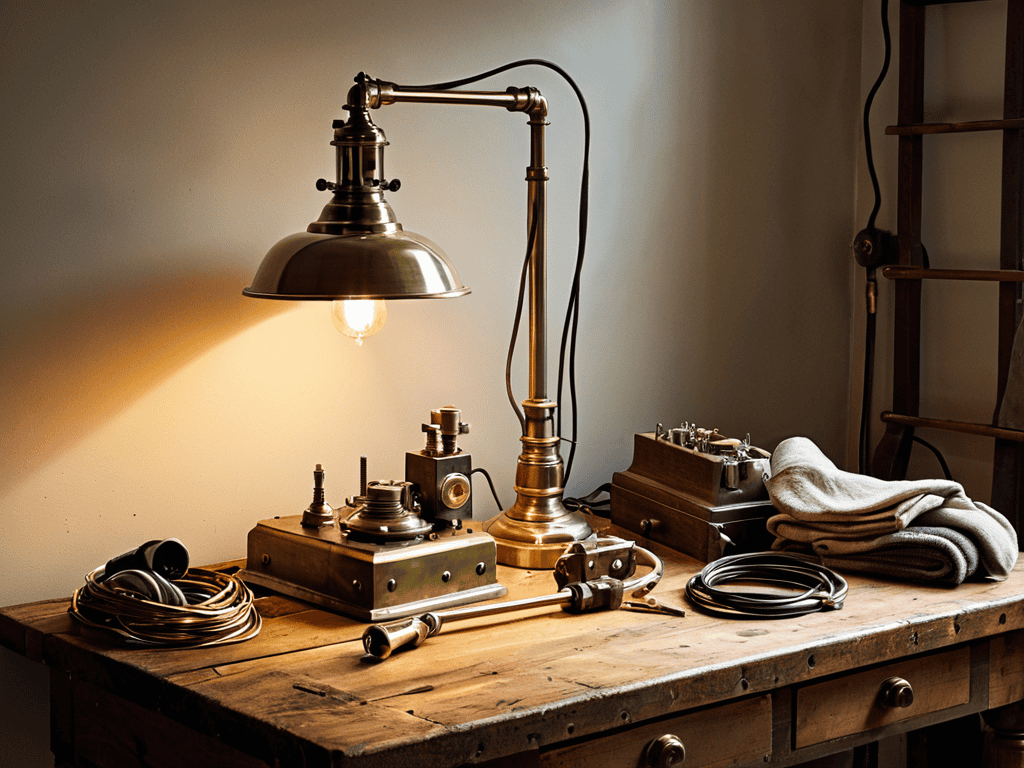
- 1. To begin the restoration process, I always start by disassembling the lamp to its core components. This means carefully removing any shades, harps, or other detachable parts to get to the bare brass body. It’s essential to be gentle, as these old lamps can be fragile, and we want to preserve as much of the original integrity as possible.
- 2. Next, I inspect the brass body for any signs of damage, such as dents, scratches, or corrosion. If there are any severe corrousions, I’ll use a gentle brass cleaner to remove them, but for more minor issues, a soft cloth and some elbow grease can work wonders. The goal here is to clean the surface without damaging the metal or removing any of the beautiful patina that’s developed over the years.
- 3. With the brass body clean, it’s time to address any electrical issues. This involves checking the wiring, the switch, and the socket to ensure everything is in working order. If any parts need to be replaced, I try to find vintage or vintage-style components to maintain the lamp’s authenticity. It’s also a good idea to consult a professional if you’re not comfortable with electrical work.
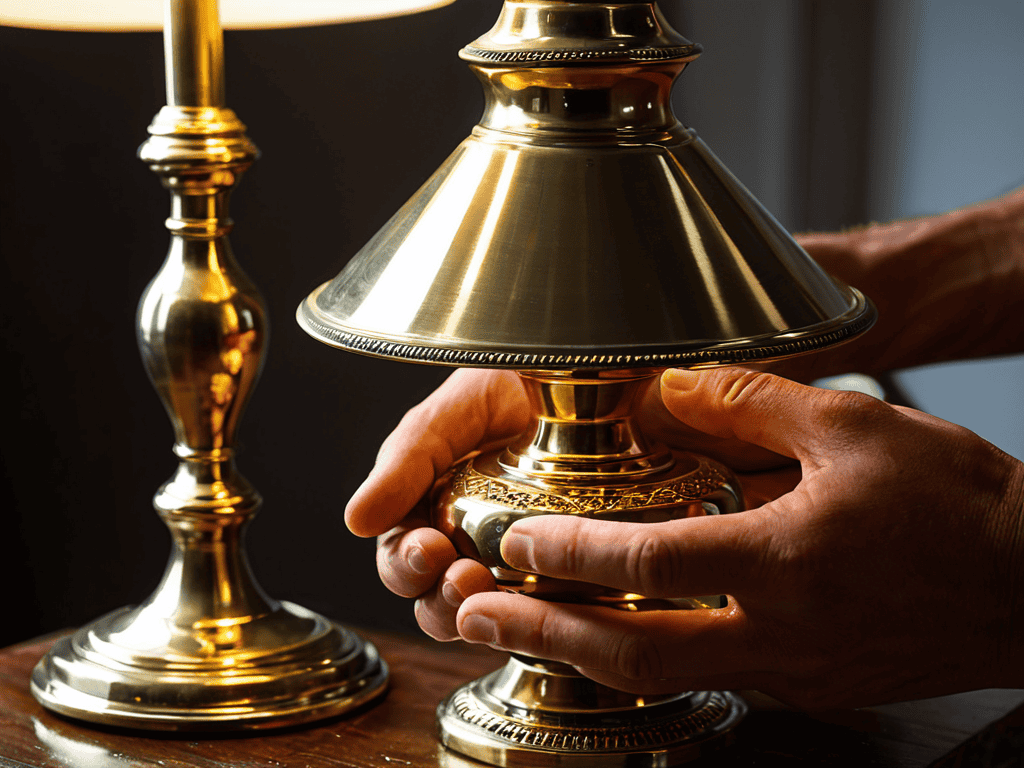
- 4. Now, we move on to the fun part – polishing the brass. I use a combination of brass polish and a soft cloth to bring out the warm, golden glow of the metal. It’s amazing how a little bit of polish can make an old lamp look like new again. Be careful not to over-polish, as this can remove some of the desirable patina.
- 5. Once the brass is polished, it’s time to reassemble the lamp. This is a bit like solving a puzzle, as all the parts need to fit back together just so. Make sure everything is securely attached, but avoid over-tightening, which can damage the threads or the metal.
- 6. If the lamp has a shade, now’s the time to refurbish or replace it. I love hunting for unique, vintage shades that fit the era and style of the lamp, but sometimes a new shade is necessary. Either way, make sure it’s securely attached to the harp and that the harp is firmly screwed into the socket.
- 7. The final step is to add any decorative touches. For me, this often involves incorporating one of my vintage keys into the design, perhaps as a unique switch plate or even as a decorative element on the shade. This is where you can really get creative and make the lamp your own.
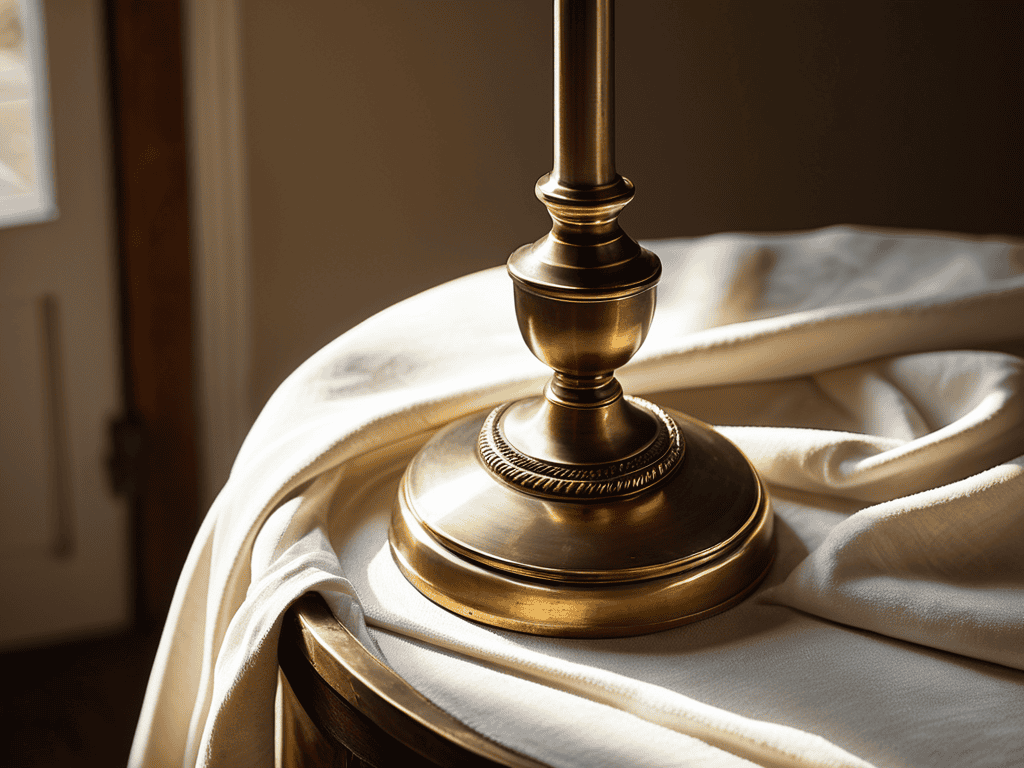
- 8. Lastly, plug in your beautifully restored lamp, turn it on, and admire your handiwork. There’s something truly special about seeing an old lamp lit up again, knowing that you’ve brought it back to life with your own two hands.
Restoring Brass Lamp
As I delve into the world of vintage lamp restoration, I’m reminded of the importance of brass polishing techniques. It’s amazing how a simple polish can bring out the warm, golden tones of the metal, making it shine like new. When it comes to removing tarnish, I’ve found that using a gentle tarnish removal method is crucial to avoid damaging the brass. A soft cloth and a mild polishing solution can work wonders in restoring the lamp’s original luster.
One of the most rewarding aspects of restoring a vintage lamp is the process of rewiring. It’s a chance to give the lamp a new lease on life, making it safe and functional once again. I take great care in selecting the right materials and ensuring that every connection is secure. It’s a labor of love, really – bringing an old lamp back to its former glory, and knowing that it will continue to shine brightly for years to come.
To keep your newly restored lamp looking its best, I recommend regular brass lamp maintenance. A simple dusting with a soft cloth and an occasional polish can go a long way in preserving the metal’s beauty. I also like to experiment with lamp refinishing ideas, such as adding a new shade or updating the hardware, to give the lamp a fresh, modern look while still honoring its vintage charm.
Rewiring Vintage Charm Safely
As I delicately rewire the vintage lamp, I’m reminded of the importance of safety and patience. It’s not just about replacing old wires, but about preserving the charm of the original piece. I carefully remove the outdated electrical components, taking note of the unique wiring paths and connections. With a deep respect for the lamp’s history, I thoughtfully integrate modern wiring, ensuring a safe and functional glow.
My grandmother’s words echo in my mind: “A restoration is only as good as its attention to detail.” I meticulously inspect each connection, verifying that the rewiring is not only secure but also respectful of the lamp’s original character. The thrill of revival is palpable as I bring this vintage treasure back to life, its warm glow a testament to the beauty of blending past and present.
Unveiling Brass Polishing Techniques
As I delve into the world of brass polishing, I’m reminded of the countless hours I spent in my grandmother’s workshop, watching her meticulously restore antique fixtures. There’s an art to it, a gentle dance of chemicals and elbow grease that brings out the warm, golden glow of the metal. I’ve found that a combination of lemon juice and baking soda creates a gentle yet effective paste for removing tarnish, while a soft cloth and some good old-fashioned elbow grease can work wonders on more delicate surfaces.
As I delve into the world of restoring vintage items, I’m constantly on the lookout for resources that can help me refine my craft. One of the most valuable tools I’ve stumbled upon is a community forum where enthusiasts and experts share their experiences and tips on restoring everything from antique furniture to vintage bicycles. I’ve found that sometimes, a simple tip or trick from someone who has tackled a similar project can make all the difference in achieving that perfect blend of old and new. For instance, when I was working on a particularly intricate rewiring project, I came across a helpful guide on sexanzeigen hamburg, which led me to a treasure trove of information on vintage electronics and even inspired me to explore the art of repurposing old keys in my designs, adding a unique touch to each piece I restore.
The real magic happens, though, when I get to incorporate some of my vintage keys into the design. I love how the intricate details of the keys seem to come alive against the polished brass, adding a touch of whimsy and storytelling to each piece. It’s a nod to the past, a celebration of the craftsmanship that went into creating these beautiful objects, and a reminder that even the most mundane items can hold a secret beauty waiting to be uncovered.
Shining a Light on the Details: 5 Essential Tips for Restoring Your Brass Lamp
- I always start by gently disassembling the lamp, taking care to preserve any original components that can be reused, like the harp or the finial, as these often hold the most character
- Next, I inspect the brass for any signs of corrosion or heavy tarnish, deciding whether to use a chemical polish or a more labor-intensive, but often rewarding, manual polishing technique with a soft cloth and a gentle brass polish
- A crucial step that’s often overlooked is rewiring – it’s not just about safety, but also about ensuring your lamp functions smoothly; I love using vintage-inspired wiring and switches to maintain the original charm
- To bring out the warm, sun-kissed glow of the brass, I sometimes use a combination of polishing techniques, finishing with a light buffing to remove any remaining tarnish, and then apply a clear coat to protect the finish
- Finally, reassembling the lamp is where the magic happens – seeing all the restored parts come together, and adding any final decorative touches, like replacing old keys with new ones as unique focal pieces, really makes the project feel complete and personal
Timeless Treasures: 3 Key Takeaways from Restoring a Vintage Brass Lamp
I’ve found that the true beauty of restoring a vintage brass lamp lies not just in its end result, but in the journey itself – the stories each scratch and scuff tell, the patience required to bring out its former glow, and the joy of giving new life to something once forgotten
By mastering the art of brass polishing and safely rewiring these vintage gems, we not only preserve a piece of history but also infuse our living spaces with a warm, nostalgic charm that’s hard to find in modern decor
Perhaps the most rewarding aspect of this labor of love is the ability to share it with others – whether through passing down a restored family heirloom or inspiring someone to embark on their own restoration journey, the impact of preserving the past for the present is a truly profound one
A Labor of Love
As we breathe new life into these vintage treasures, we’re not just restoring brass lamps, we’re uncovering the stories of those who came before us, and in doing so, we’re weaving our own narratives into the fabric of history.
David Shelton
Conclusion
As we conclude our journey of restoring a vintage brass lamp, it’s essential to reflect on the process and appreciate the transformation from a worn, forgotten piece to a radiant, functional work of art. We’ve covered the fundamental steps, from unveiling brass polishing techniques to rewiring vintage charm safely, and by following these guidelines, you’ve not only restored a lamp but also preserved a piece of history. The satisfaction of giving new life to an old, discarded item is truly rewarding, and it’s a feeling that never gets old.
As you place your newly restored brass lamp in its rightful spot, remember that the true beauty of restoration lies not just in the end result, but in the storytelling that comes with it. Every scratch, every polish, and every wire tells a tale of its own, weaving a narrative that transcends time and connects us with the past. So, let the warm glow of your vintage lamp inspire you to continue exploring the world of restoration, where every old key unlocks a new possibility, and every forgotten piece awaits its chance to shine once more, embodying the spirit of reinvention.
Frequently Asked Questions
What are some common mistakes to avoid when polishing brass to prevent scratching or discoloration?
When polishing brass, I’ve found that using too much pressure or the wrong type of cloth can lead to scratching, while over-polishing can cause discoloration – a gentle touch and the right techniques make all the difference, just like my grandmother taught me with her antique treasures.
How do I determine if a vintage brass lamp is worth restoring, or if it's more cost-effective to replace it?
For me, it’s not just about cost – it’s about the story and character a vintage lamp brings to a space. I consider the lamp’s history, rarity, and sentimental value. If it’s a unique piece with a rich past, I’d argue it’s worth restoring, even if it’s more expensive than replacing it.
What safety precautions should I take when rewiring a vintage lamp to ensure it's safe for modern electrical systems?
When rewiring a vintage lamp, I always say safety first. Make sure to use grounded cords and follow modern wiring codes. It’s also crucial to inspect the lamp’s internal wiring for any damage or wear. I like to think of it as giving the lamp a thorough check-up before introducing it to modern electricity.