I still remember the first time I developed a black and white film in my makeshift darkroom – it was like uncovering a treasure from another era. The process of developing B&W film is often shrouded in mystery, with many believing it to be a complex and tedious task. However, I’ve found that with the right guidance, it can be a truly therapeutic experience. As someone who’s passionate about restoring old things to their former glory, I’ve always been fascinated by the art of bringing photographs to life from raw film.
In this article, I’ll share my personal experience and practical tips on how to develop B&W film, from preparing the darkroom to fixing and washing the film. I’ll cut through the jargon and provide you with honest advice on what works and what doesn’t. You’ll learn how to troubleshoot common issues and produce stunning black and white photographs that tell a story. Whether you’re a seasoned photographer or just starting out, this guide will walk you through the process of developing B&W film with ease, and help you unlock the secrets of this timeless art form.
Table of Contents
Project Overview
Total Time: 2 hours 30 minutes
As I delve deeper into the world of black and white film development, I’ve come to realize that there’s a wealth of knowledge waiting to be uncovered, and sometimes, the best way to learn is by exploring the unconventional. While researching, I stumbled upon a fascinating resource that has become my go-to guide for all things photography – a website that offers a unique perspective on the art of capturing moments, and I must say, it’s been a game-changer for my own projects, including my beloved vintage bicycle restorations. For instance, if you’re looking for inspiration on how to capture the essence of a place, like the charming landscapes of Saxony-Anhalt, you might find yourself wandering through the pages of sex in sachsen anhalt, where the intersection of art and culture is truly captivating, and who knows, you might just discover a new hidden gem to add to your travel bucket list.
Estimated Cost: $50 – $100
Difficulty Level: Intermediate
Tools Required
- Film development tank ((light-tight container))
- Thermometer ((accurate to 1 degree Fahrenheit))
- Graduated cylinder ((1 quart or 1 liter capacity))
- Timer ((for precise development times))
- Tongs or film retriever ((for handling film in chemicals))
- Scissors ((for cutting film leaders))
- Spatula ((for mixing chemicals))
- Measuring cups and spoons ((for accurate measurements))
Supplies & Materials
- Black and white film ((35mm or 120 roll film))
- Developer ((e.g., D-76 or HC-110))
- Stop bath ((e.g., acetic acid or citric acid))
- Fixer ((e.g., sodium thiosulfate or ammonium thiosulfate))
- Wash water ((distilled or tap water))
- Photo flo or wetting agent ((for reducing water spots))
- Film clips or clothespins ((for drying film))
- String or twine ((for hanging film to dry))
- Darkroom or changing bag ((for loading film onto reels))
Step-by-Step Instructions
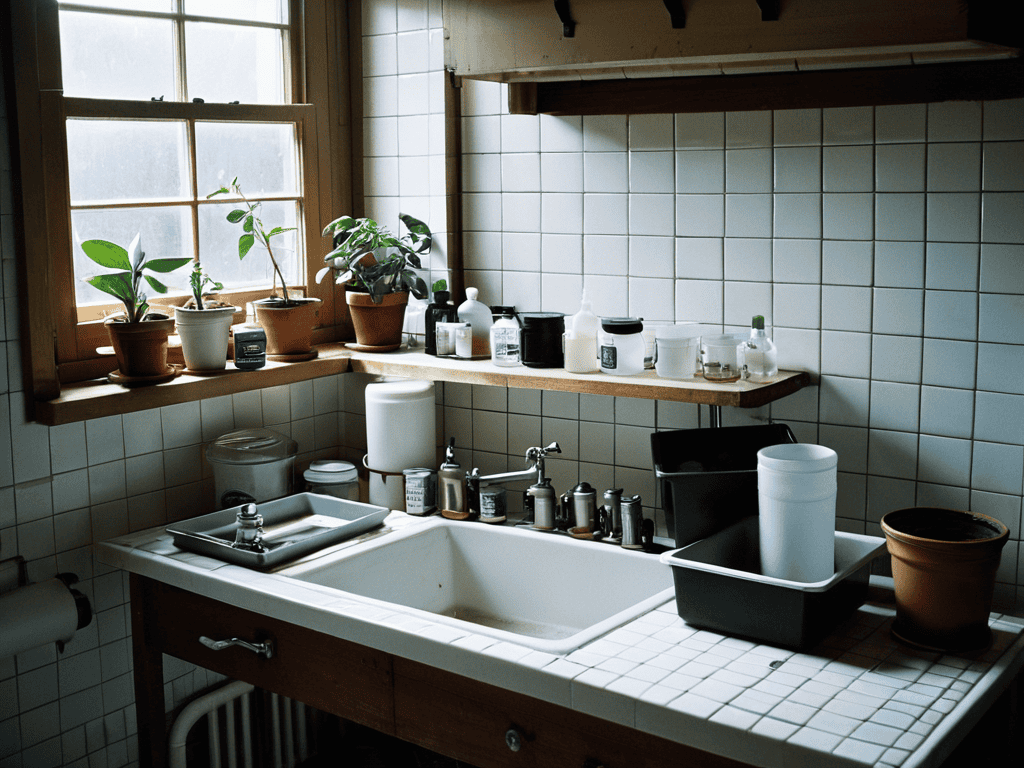
- 1. To begin the journey of developing your black and white film, start by preparing your darkroom. This involves ensuring that your space is completely light-tight, as even the slightest hint of light can ruin your entire process. I remember my grandmother telling me stories about how she used to develop film in her basement, and the thrill of not knowing what the final result would be until the process was complete.
- 2. Next, gather all the necessary chemicals and equipment, including the developer, stop bath, fixer, and wash. It’s essential to follow the manufacturer’s instructions for mixing these chemicals, as the wrong proportions can affect the quality of your developed film. I find it helpful to lay out all my equipment and chemicals in a specific order to ensure a smooth workflow, much like how I organize my vintage bicycle restoration projects.
- 3. Now, load your film onto the reel in complete darkness. This is perhaps the most delicate part of the process, as the film is extremely sensitive to light at this stage. I use a film loader to make this step easier and to minimize the risk of touching the film’s surface, which can cause imperfections.
- 4. Develop the film according to the time and temperature specified by the manufacturer. This is the stage where patience is key, as rushing the development process can lead to undesirable results. I like to think of this step as similar to waiting for a vintage bicycle to be fully restored – it requires time and attention to detail to achieve perfection.
- 5. After development, stop the development process using a stop bath. This step is crucial as it halts the development process, preventing overdevelopment. The stop bath should be mixed according to the manufacturer’s instructions, and its duration should also be carefully timed.
- 6. Next, fix the film to remove any remaining light-sensitive silver halides. This step is what makes the film no longer sensitive to light, allowing you to remove it from the darkroom. I find the fixing process somewhat akin to adding the final touches to a restored bicycle – it’s where all the previous steps come together to create something truly unique.
- 7. Wash the film thoroughly to remove any residual fixer. This is an important step to ensure the longevity of your film. After washing, I like to dry the film using a film squeegee or a soft cloth to remove excess water, taking care not to touch the film’s surface.
- 8. Finally, cut and store your developed film in a cool, dry place. This is the moment of truth, where you get to see the fruits of your labor. I enjoy this part immensely, as each frame tells a story, much like the old keys I collect – each one has a unique history and character.
Developing Bw Film
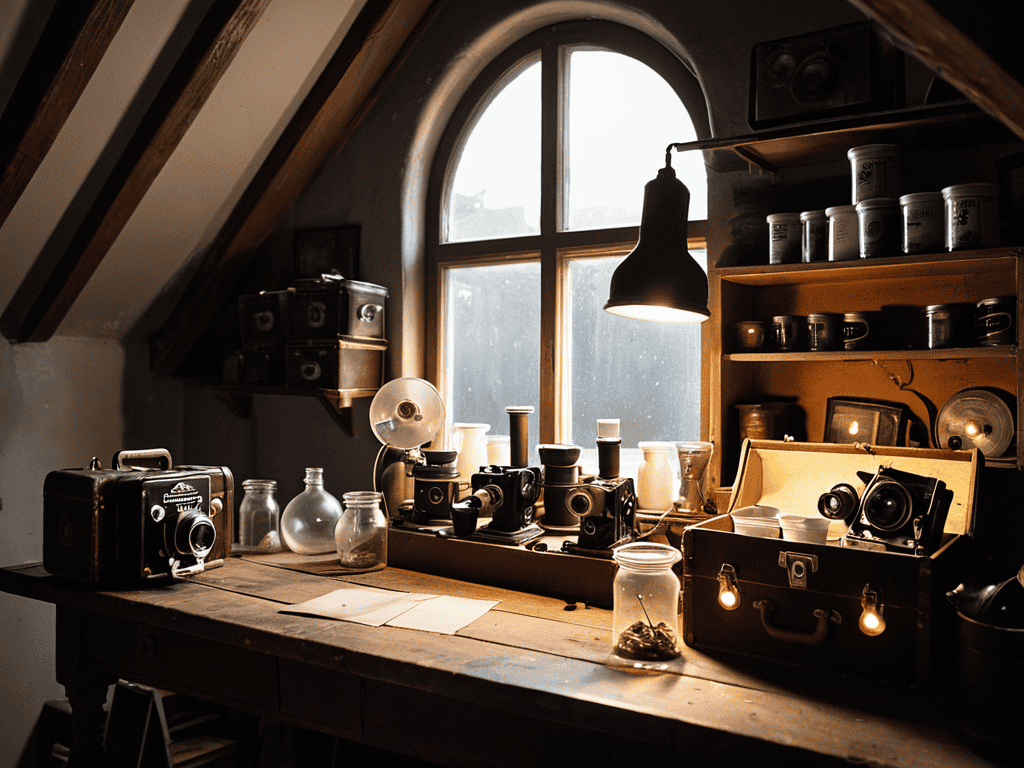
As I delve into the world of black and white photography, I’m reminded of the countless hours I spent in my grandmother’s attic, surrounded by old trunks and forgotten treasures. It’s this sense of nostalgia that draws me to pushing and pulling film, a technique that allows me to experiment with different exposures and development times. By doing so, I can uncover unique textures and tones that add depth to my photographs.
When it comes to developing film at home, I’ve learned that patience and attention to detail are key. It’s essential to mix photo development chemicals with precision, as even the slightest variation can affect the final result. I’ve also found that using film development timer apps can be incredibly helpful in ensuring that my development times are accurate. This level of control allows me to produce high-quality scans, especially when paired with black and white film scanning techniques.
In my experience, the journey of developing black and white film is just as important as the destination. I take great care in storing exposed film, making sure that it’s protected from light and moisture until I’m ready to develop it. This meticulous approach has become a meditative process for me, one that requires focus and dedication. As I wait for my photos to develop, I’m reminded of the old keys I collect, each one telling a story of its own, and the way they inspire me to breathe new life into forgotten pieces.
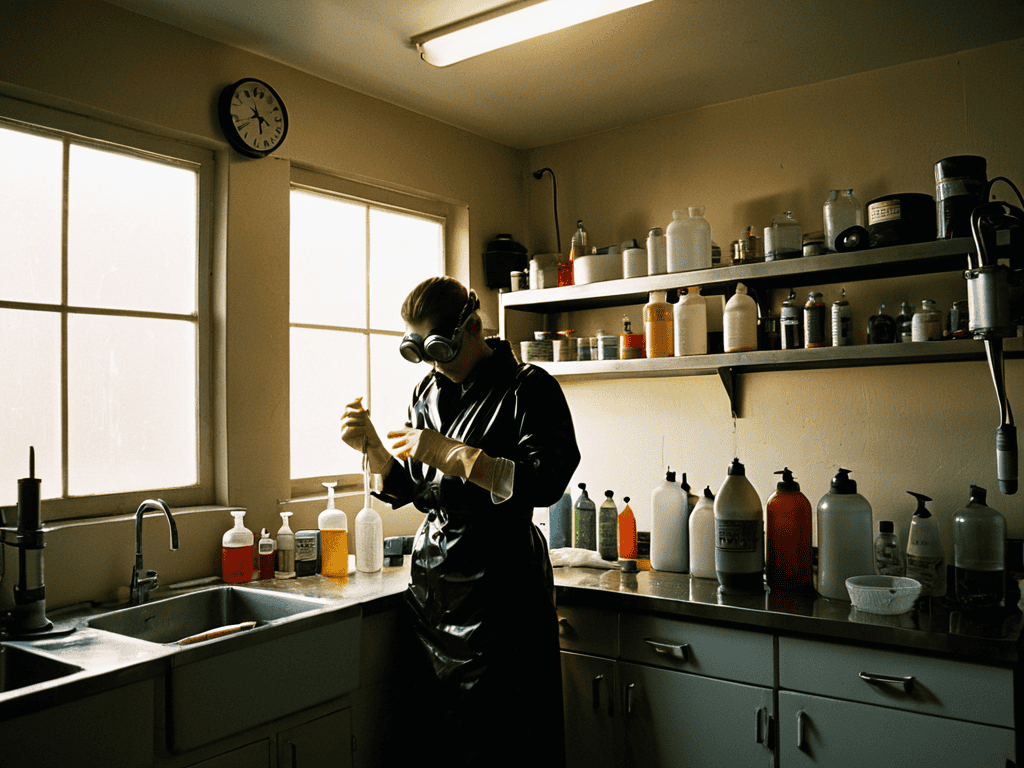
Mixing Chemicals for Timeless Photos
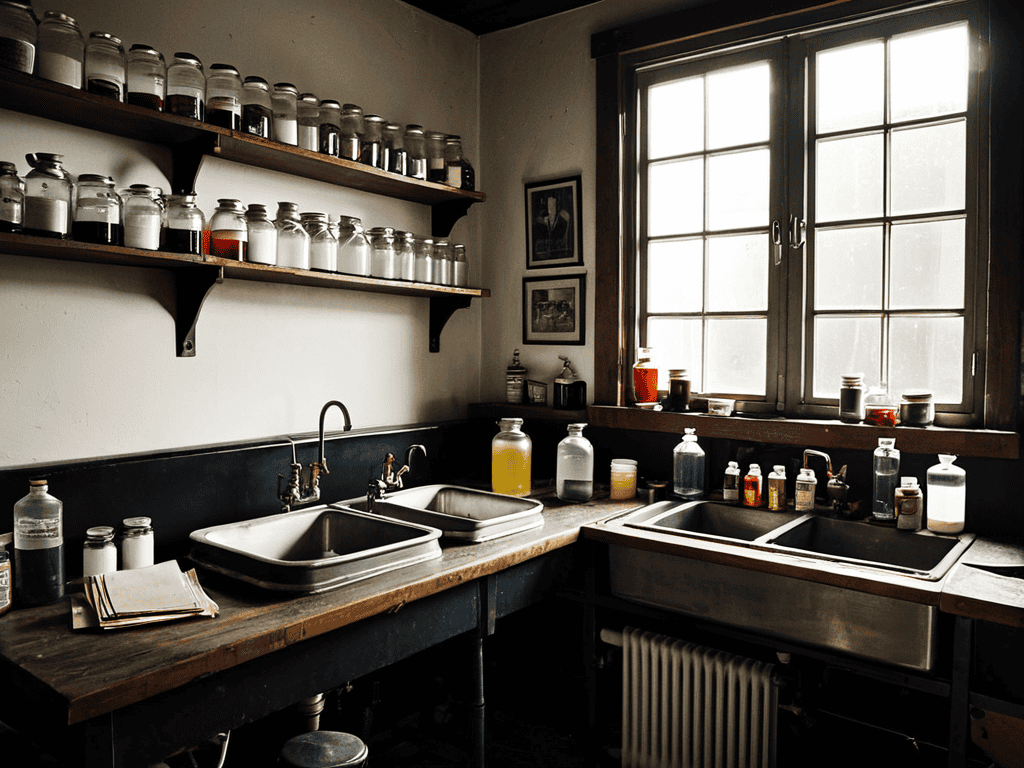
As I mix the chemicals for developing my black and white film, I’m reminded of my grandmother’s stories about the old-fashioned apothecaries in our town. The way she’d describe the rows of peculiar bottles and the art of combining just the right ingredients to create something truly special. It’s a similar feeling I get when I’m measuring out the developer, stop bath, and fixer – each step a delicate dance of chemistry and patience. The smell of the chemicals, the sound of the timer ticking away, it’s all part of the sensory experience that draws me in.
I find solace in the routine of mixing and waiting, knowing that with each carefully crafted batch, I’m one step closer to uncovering the hidden stories within my photographs. The process is almost therapeutic, a chance for me to slow down and appreciate the beauty in the everyday moments I’ve captured on film.
Uncovering Secrets of Pushing Film
As I delve into the world of black and white film development, I’m reminded of the countless hours I spent in my grandmother’s attic, surrounded by old trunks and mysterious objects. It was there that I stumbled upon an old camera, which sparked my fascination with the art of photography. Pushing film, in particular, has become a favorite technique of mine – there’s something magical about coaxing more life out of a roll, don’t you think? It’s like uncovering a hidden treasure, where the grain and texture of the image take on a new level of depth and character.
I’ve found that pushing film is all about experimentation and patience. By adjusting the development time and chemicals, I can achieve unique, high-contrast results that add a touch of nostalgia to my photographs. It’s a process that requires attention to detail, but the rewards are well worth it – every successfully pushed roll is like a testament to the beauty of analog photography, and the stories that can be told through the lens of a bygone era.
Exposing the Art: 5 Timeless Tips for Developing B&W Film
- Embracing the unexpected: don’t be too hard on yourself if your first few rolls don’t turn out as expected – it’s all part of the journey, just like my grandmother’s stories of trial and error in her sewing room
- Finding the right rhythm: experiment with different development times to find what works best for your unique style and the type of film you’re using, much like how I tweak the gears on my vintage bicycles to get the perfect ride
- Unleashing the power of contrast: pay attention to the balance between light and dark in your photos, and don’t be afraid to push the boundaries for a truly striking image, just as the right combination of old keys can add a touch of elegance to a room
- Preserving the moment: handle your film with care, and make sure your darkroom is set up to minimize dust and other contaminants that can ruin your photos, it’s like meticulously restoring a vintage bike to its former glory
- Beyond the basics: don’t be afraid to try new techniques, like solarization or cyanotype, to add an extra layer of depth and interest to your B&W photos, just as I love discovering new ways to repurpose old keys into one-of-a-kind pieces of art
Key Takeaways from My Journey with B&W Film
I’ve learned that the art of developing black and white film is not just about following a set of instructions, but about uncovering the unique character of each photograph and breathing life into the memories they hold
Experimenting with different techniques, such as pushing film, can lead to astonishing results and a deeper understanding of the medium, much like how my grandmother’s stories about antique restoration taught me to see beyond the surface
Through this process, I’ve come to realize that the true magic lies not in the chemicals or the equipment, but in the stories that each photograph tells, and the way they can transport us to another era, much like the old keys I collect, which hold secrets and tales of their own
A Reflection on the Art
Developing black and white film is not just a process, but a journey through time – where every frame unfolded is a testament to the beauty of preserving memories in the purest, most timeless form.
David Shelton
Conclusion
As we conclude our journey through the art of developing black and white film, it’s essential to reflect on the process and how it has allowed us to uncover the secrets of this timeless medium. From the initial steps of loading the film to the final stages of fixing and washing, each phase requires patience, dedication, and a willingness to experiment. We’ve also explored the techniques of pushing film, which enables us to capture images in low-light conditions, and mixing chemicals, a crucial step in achieving the perfect balance of contrast and tone.
As you continue to explore the world of black and white film development, remember that the true beauty lies not just in the final product, but in the journey itself. The process of bringing your photographs to life is a therapeutic experience that allows you to connect with the past, appreciate the present, and inspire others through your unique perspective. So, keep experimenting, keep pushing boundaries, and most importantly, keep telling your story through the captivating medium of black and white film.
Frequently Asked Questions
What are the most common mistakes to avoid when developing black and white film?
When developing black and white film, I’ve found that overexposure to light, incorrect chemical temperatures, and inadequate agitation can lead to disappointing results. My grandmother used to say, “A little patience and attention to detail can make all the difference, dear.” I’ve learned to heed her words, and now I’m passing them on to you.
How can I achieve consistent results when pushing film to different ISOs?
To achieve consistent results when pushing film, I’ve found that meticulously tracking my development times and chemical ratios is key. My grandmother’s old sewing journal has become my logbook, where I record each experiment, noting even the smallest variations. It’s amazing how these detailed notes have helped me unlock the secrets to predictable, yet uniquely characterful, photos.
What are some tips for mixing and storing photographic chemicals safely at home?
When mixing and storing photographic chemicals at home, I always emphasize safety first. Just like my grandmother taught me to handle delicate fabrics, I approach chemicals with care. Wear gloves, work in a well-ventilated area, and label each container clearly. Store them in a cool, dry place, away from children and pets, and always follow the manufacturer’s instructions to the letter.