I still remember the first time I stumbled upon Shrink Plastic Pins – it was like discovering a treasure trove of creative possibilities. For years, I’d been frustrated with the limitations of traditional crafting materials, but these tiny pins changed the game. Despite their small size, they pack a big punch, allowing me to add intricate details and textures to my DIY projects with ease. However, I’ve often found that many people are intimidated by the idea of working with Shrink Plastic Pins, believing them to be too finicky or difficult to manipulate.
As we dive into the world of Shrink Plastic Pins, I want to assure you that you’re in for a treat. This article will provide you with honest and practical advice on how to get the most out of these versatile pins, from choosing the right materials to troubleshooting common issues. You’ll learn how to unlock the full potential of Shrink Plastic Pins and take your crafting skills to the next level. Whether you’re a seasoned pro or a beginner, you’ll find that working with these pins is easier than you think, and with the right guidance, you’ll be creating beautiful and intricate designs in no time.
Table of Contents
Project Overview
Total Time: 1 hour 15 minutes
Estimated Cost: $10 – $20
Difficulty Level: Easy
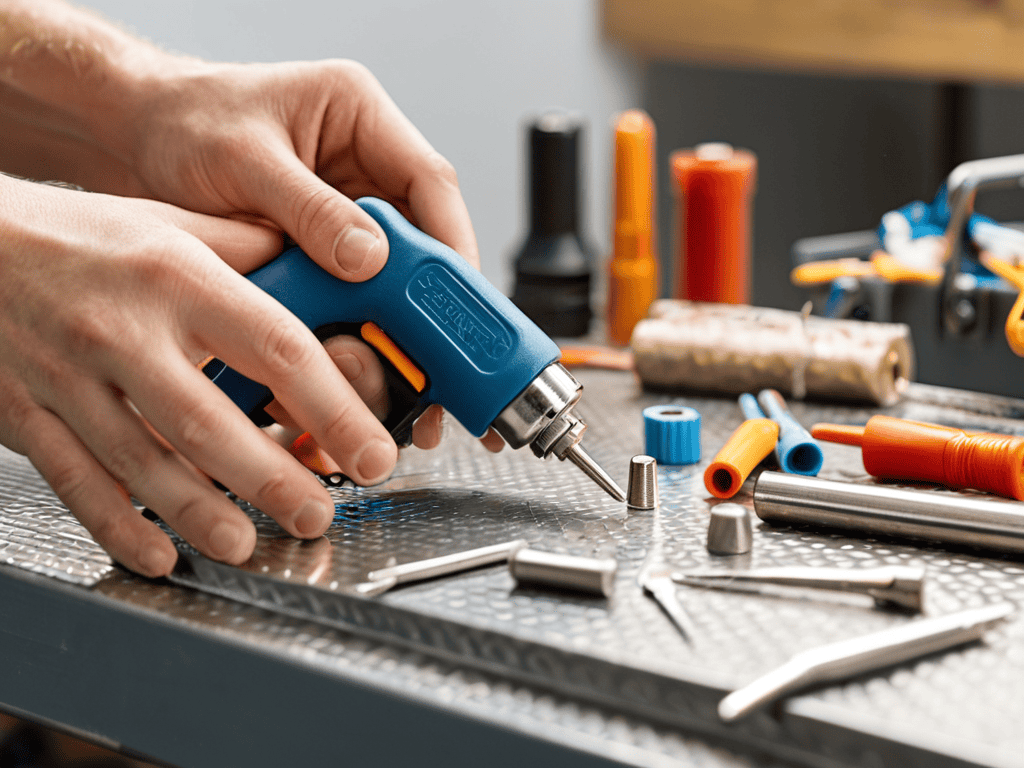
Tools Required
- Heat Gun ((or hair dryer))
- Pliers ((for bending))
- Ruler ((for measuring))
- Scissors ((for cutting plastic))
- Work Surface ((heat-resistant))
Supplies & Materials
- Shrink Plastic Sheets ((various sizes))
- Metal Pins ((or other objects to shrink plastic around))
- Heat-Resistant Tape ((for securing pins))
Step-by-Step Instructions
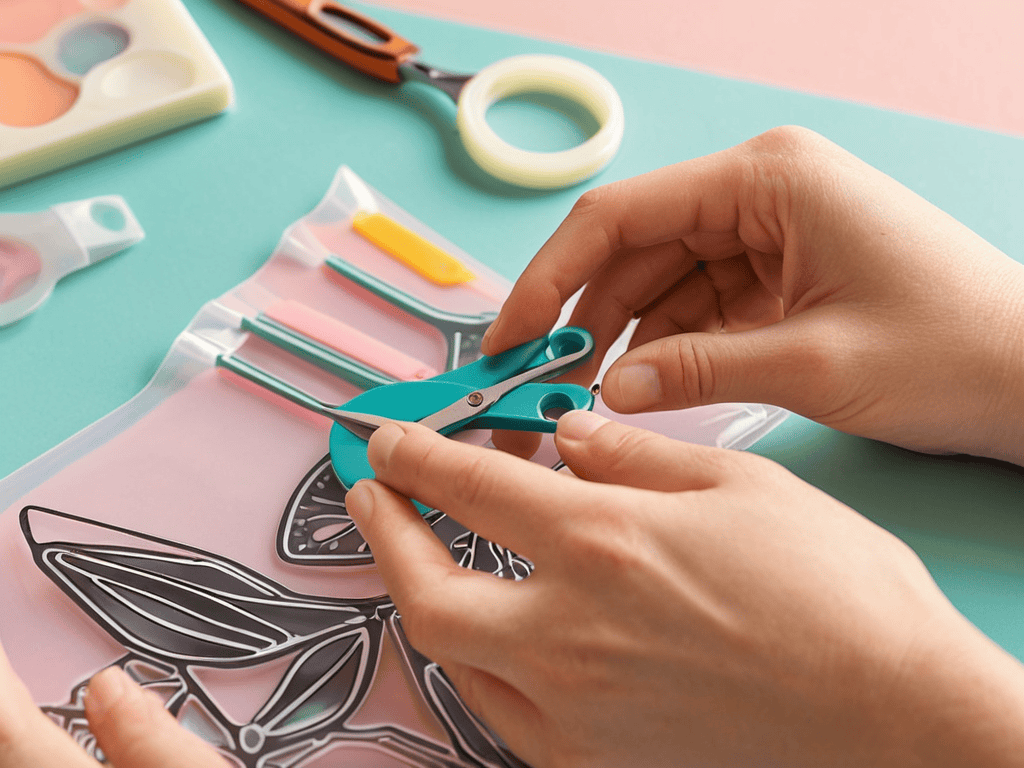
- 1. First, gather all the necessary materials, including shrink plastic pins, a heat gun or a hair dryer, a pair of scissors, and a surface to work on. It’s essential to have everything within reach to ensure a smooth and efficient process.
- 2. Next, prepare your design or pattern by drawing or printing it onto the shrink plastic sheet. You can use various techniques such as tracing, stenciling, or freehand drawing to create your desired design. Make sure the design is not too intricate, as it will shrink significantly.
- 3. Cut out the design from the shrink plastic sheet using scissors or a craft knife. It’s crucial to cut accurately and leave a small border around the design to prevent it from becoming too fragile after shrinking.
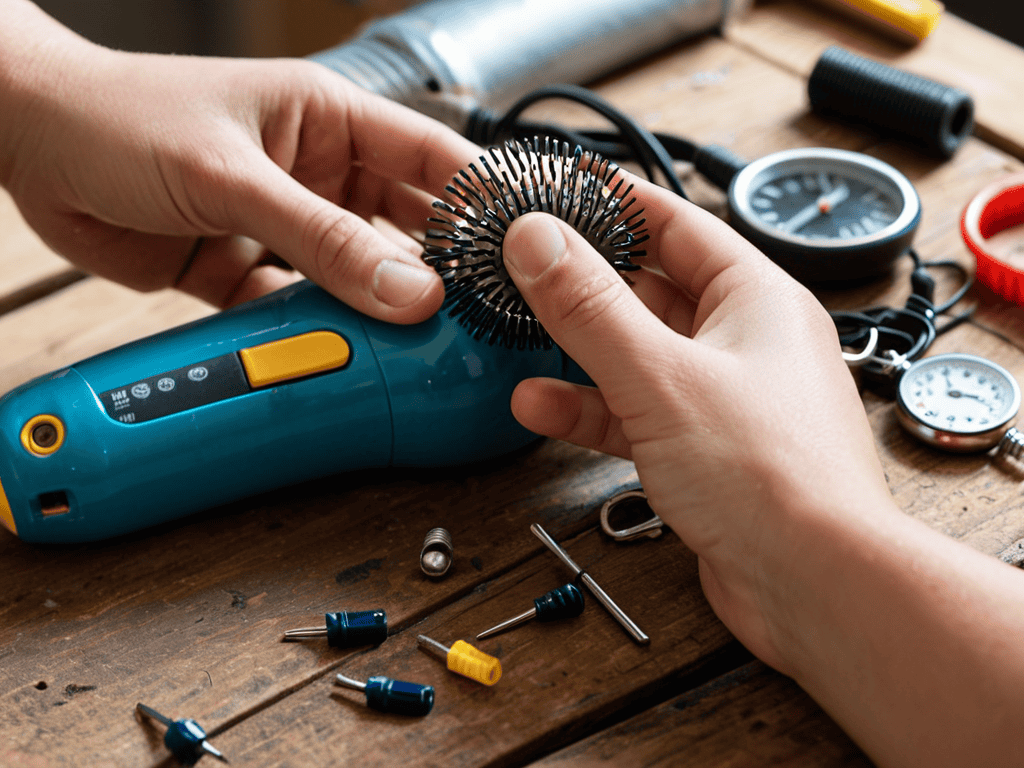
- 4. Preheat your heat gun or hair dryer to a medium to high setting. Hold the heat source about 6-8 inches away from the shrink plastic pin and apply gentle, even heat. You will start to see the plastic shrink and thicken.
- 5. Continue applying heat until the shrink plastic pin has reached the desired size and thickness. Be cautious not to overheat the plastic, as it can become brittle or discolored. If necessary, use a pair of tweezers to carefully shape the pin while it’s still warm.
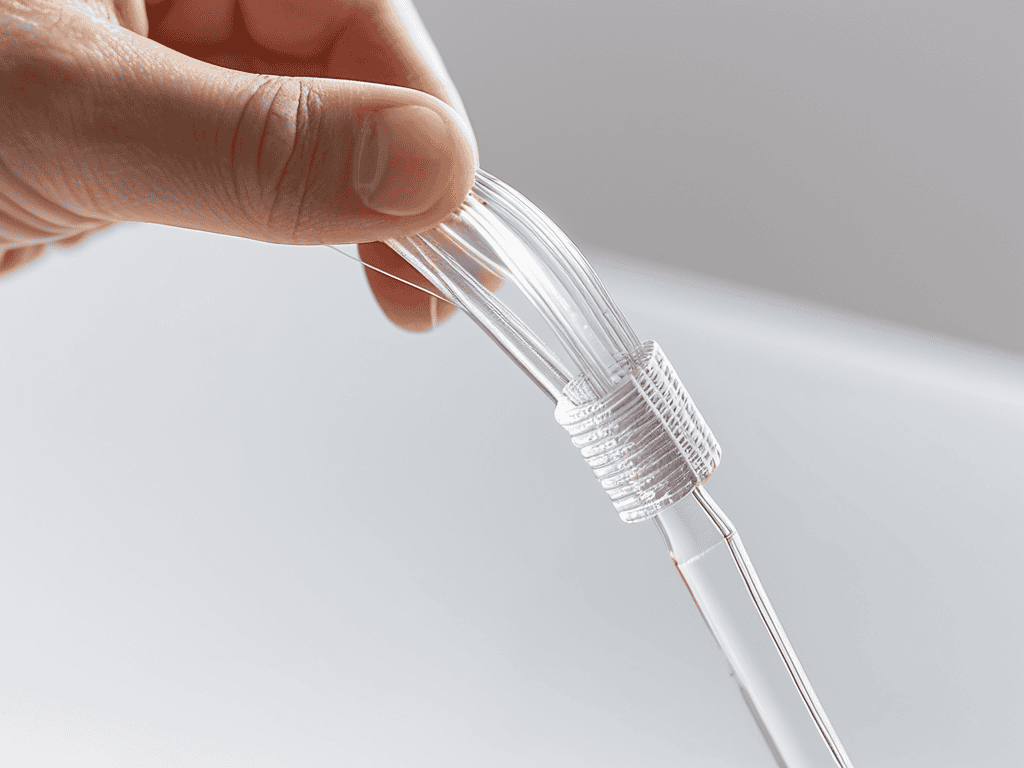
- 6. Allow the shrink plastic pin to cool completely before handling it. Once cooled, you can add a finish such as varnish or sealant to protect the pin and give it a glossy appearance.
- 7. To assemble the shrink plastic pin into a finished piece, such as a brooch or a pendant, use a strong adhesive like epoxy or hot glue to attach it to a sturdy backing or a finding. Make sure the adhesive is fully dry before wearing or handling the piece.
- 8. Finally, inspect your finished shrink plastic pin for any imperfections or defects. If necessary, use a fine-grit sandpaper to smooth out any rough edges or bumps, and apply a final coat of varnish to seal and protect the pin.
Shrink Plastic Pins Mastery
To take your crafting to the next level, it’s essential to master plastic shrinkage techniques. This involves understanding how different materials interact with heat and pressure, allowing you to create intricate designs and patterns. By experimenting with various plastic shrinking tools, you can achieve unique textures and effects that add an extra layer of depth to your projects.
As you become more comfortable with the process, you can start to explore other creative applications, such as shrink wrap art projects. This can include making custom jewelry, decorative items, or even functional pieces like phone cases or charms. The key is to think outside the box and consider how heat shrink plastic applications can be used to enhance your designs.
By pushing the boundaries of what’s possible with plastic shrinkage, you can unlock new possibilities for your crafting. For example, plastic shrink film uses can range from creating delicate, lace-like patterns to forming sturdy, three-dimensional structures. With practice and patience, you can develop the skills needed to create truly stunning pieces, like shrink plastic jewelry making, that showcase your creativity and attention to detail.
Heat Shrink Art Project Inspirations
When it comes to heat shrink art, the possibilities are endless. I’ve seen artists create stunning miniature sculptures, intricate jewelry, and even delicate ornaments. The key to mastering heat shrink art is to experiment with different techniques and materials. For instance, you can combine shrink plastic pins with other materials like beads, wire, or fabric to create unique textures and patterns.
I find inspiration in the smallest details – a leaf, a flower, or a fragment of a larger design. By shrinking these elements, I can create intricate, layered designs that are both beautiful and fascinating. Whether you’re a seasoned artist or a beginner, heat shrink art is a great way to explore your creativity and push the boundaries of what’s possible with shrink plastic pins.
Unlocking Plastic Shrinkage Techniques
As I continue to explore the world of shrink plastic pins, I’ve found that having the right resources can make all the difference in unlocking your full creative potential. For those looking to take their skills to the next level, I highly recommend checking out some online communities that specialize in adult education and networking, where you can connect with like-minded individuals and learn from their experiences. In fact, I recently stumbled upon a fascinating website, sex ads perth wa, which offers a unique perspective on how to navigate and make the most of these types of platforms, and I think it’s definitely worth a look for anyone interested in expanding their horizons and exploring new ideas.
To take your shrink plastic pins to the next level, it’s essential to experiment with different plastic shrinkage techniques. I’ve found that adjusting the temperature and timing of the shrinking process can significantly impact the final result. By tweaking these variables, you can achieve unique textures and effects that add an extra layer of depth to your miniature masterpieces.
As you delve deeper into the world of shrink plastic pins, you’ll discover that subtle variations in technique can make all the difference. Whether you’re aiming for a smooth, glossy finish or a more rugged, distressed look, mastering these techniques will help you unlock the full potential of your shrink plastic pins and bring your creative vision to life.
5 Essential Tips to Unlock the Full Potential of Shrink Plastic Pins
- Always preheat your heat gun to the optimal temperature for shrink plastic to ensure even shrinkage and to prevent hot spots
- Experiment with different colors and patterns of shrink plastic to add a unique touch to your DIY projects
- Use a variety of shapes and sizes of shrink plastic pins to create intricate designs and details
- Apply a small amount of adhesive to the back of the shrink plastic pin before attaching it to your project to secure it in place
- Don’t be afraid to combine shrink plastic pins with other materials, such as beads or sequins, to add texture and depth to your creations
Key Takeaways for Mastering Shrink Plastic Pins
I’ve discovered that with the right techniques, shrink plastic pins can be transformed into intricate, miniature works of art that add a personal touch to any DIY project
By experimenting with different heat shrink art techniques, you can unlock a world of creative possibilities, from customized jewelry to elaborate decorative pieces
Whether you’re a seasoned crafter or just starting out, embracing the versatility of shrink plastic pins can help you take your DIY endeavors to the next level, allowing you to create truly unique and captivating masterpieces
A Pinch of Creativity
Shrink plastic pins are more than just a craft supply, they’re a gateway to a world of miniature masterpieces, where the boundaries of reality are shrunk down to the size of our imagination.
Lily Green
Conclusion
As we conclude our journey through the world of shrink plastic pins, it’s essential to summarize the key points that make these small wonders so versatile. From the initial introduction to the step-by-step guide, we’ve explored the various techniques and inspirations that can help unlock the full potential of shrink plastic pins. Whether you’re a seasoned crafter or a DIY enthusiast, mastering the art of shrink plastic pins can elevate your projects to new heights, offering a unique blend of functionality and aesthetic appeal.
As you embark on your own creative journey with shrink plastic pins, remember that the true magic lies not in the tools themselves, but in the boundless imagination that drives you to create something truly unique. So, don’t be afraid to experiment, to push the limits of what’s possible, and to unlock new secrets of shrink plastic pins. With patience, practice, and a willingness to explore, you’ll find that these small, humble pins can become the key to unlocking a world of endless creative possibilities.
Frequently Asked Questions
What are the best types of shrink plastic pins to use for delicate craft projects?
For delicate craft projects, I swear by using high-quality, thin shrink plastic pins that are specifically designed for intricate work. They’re usually made from a softer plastic that’s gentler on materials and won’t leave noticeable holes. My go-to brands are the ones that offer a range of pin sizes and types, ensuring I can find the perfect fit for my project.
How can I achieve consistent results when shrinking plastic pins with a heat gun?
To achieve consistent results with a heat gun, I swear by a steady hand and a gentle touch. Keep the gun about 4-6 inches away and move it slowly, evenly heating the plastic until it shrinks to perfection. Practice makes perfect, so don’t be discouraged if it takes a few tries to get the hang of it!
Are there any safety precautions I should take when working with shrink plastic pins and heat shrink art projects?
When working with shrink plastic pins and heat shrink art, I always make sure to use a well-ventilated area, protective gloves, and safety glasses to avoid any potential burns or injuries from the heat gun. It’s also a good idea to keep a fire extinguisher nearby, just in case.