I still remember the day I decided to take on the challenge of installing a DIY Starlink Roof Mount. I had heard all sorts of horror stories about the complexity of the process, but I was determined to breathe new life into my home’s tech, just as I do with my vintage bicycle restorations. As I delved into the project, I realized that the most daunting aspect was not the technicality, but rather the lack of clear, straightforward guidance. It seemed that everyone had an opinion on the best way to mount your Starlink dish, but few had the hands-on experience to back it up.
As someone who’s passionate about restoring and repurposing, I believe that a well-designed DIY project should be accessible to everyone, not just the tech-savvy. In this article, I’ll share my personal experience and practical advice on how to successfully install a DIY Starlink Roof Mount. I’ll walk you through the process, from preparation to completion, and provide you with the honest, no-hype guidance you need to get the job done. Whether you’re a seasoned DIY enthusiast or a beginner looking to take on a new challenge, this guide is designed to help you unlock the full potential of your Starlink system and bring a touch of vintage charm to your modern tech.
Table of Contents
Project Overview
Total Time: 4 hours 30 minutes
Estimated Cost: $100 – $200
Difficulty Level: Intermediate
Tools Required
- Drill Press ((with 1/4 inch and 1/2 inch drill bits))
- Impact Driver ((with socket set))
- Level ((laser or bubble level))
- Tape Measure ((25 feet long))
- Wrench Set ((with adjustable wrench))
- Pencil and Marker ((for marking roof and equipment))
- Ladder or Step Stool ((for safe roof access))
Supplies & Materials
- Starlink Dish and Router ((with mounting hardware))
- Roof Mounting Kit ((specific to Starlink equipment))
- 2-in x 6-in lumber ((for creating a mounting platform))
- Wood Screws ((1 inch and 2 inch long))
- Roofing Sealant ((to seal any gaps or holes))
- Weatherproofing Tape ((for protecting cables and connections))
Step-by-Step Instructions
- 1. To begin our DIY Starlink Roof Mount journey, we first need to gather all the necessary materials, including the Starlink dish, roof mount, power supply, and any additional tools like a drill, screwdriver, and ladder. It’s essential to have everything ready before we start to ensure a smooth and efficient process.
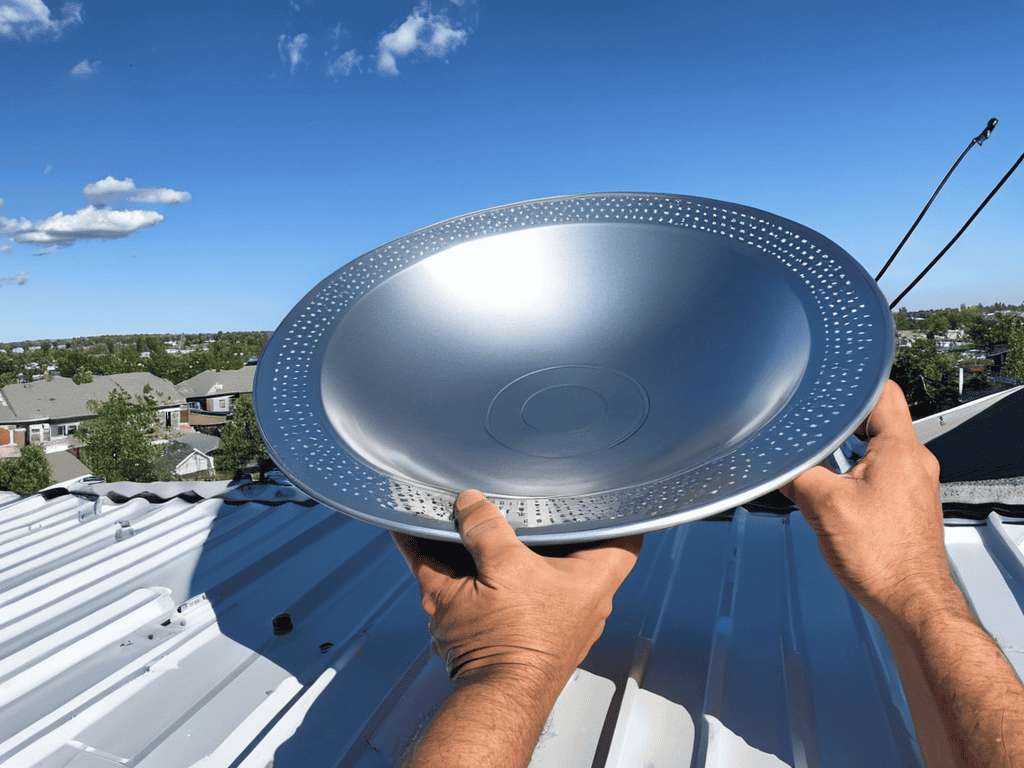
- 2. Next, we need to choose the perfect spot for our Starlink dish on the roof. This involves finding a location with a clear view of the southern sky, as obstructions like trees or buildings can significantly affect the signal quality. Take your time, and don’t hesitate to move around the roof to find the ideal position.
- 3. With our location selected, it’s time to mark the spot where we’ll be installing the roof mount. Use a pencil to lightly mark the center point, ensuring it’s aligned with the roof’s rafters to provide additional support and stability. This step is crucial for the overall durability of the installation.
- 4. Now, let’s move on to drilling the pilot holes for the roof mount’s screws. It’s vital to use a level to ensure the mount is perfectly horizontal, which will help maintain the dish’s optimal position. Drill slowly and carefully, applying gentle pressure to avoid damaging the roof’s surface.
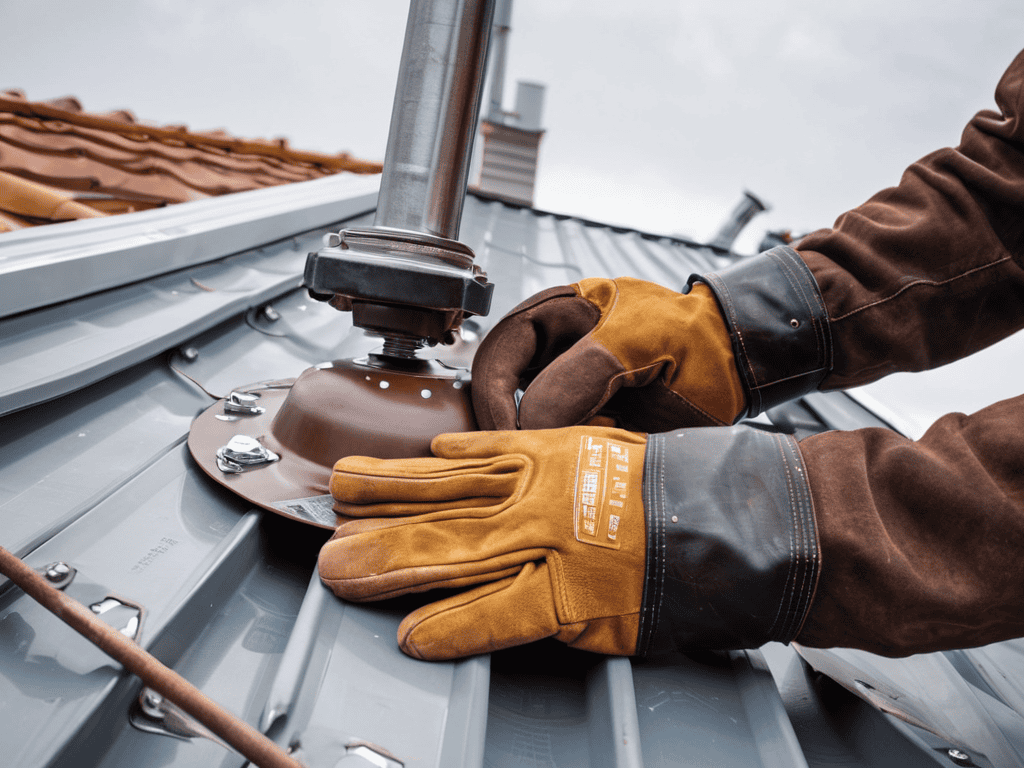
- 5. After drilling the pilot holes, we can proceed to secure the roof mount using the provided screws. Make sure they’re tightened firmly but avoid overtightening, which could compromise the roof’s integrity. It’s also a good idea to apply a small amount of sealant around the screws to prevent water from seeping into the roof.
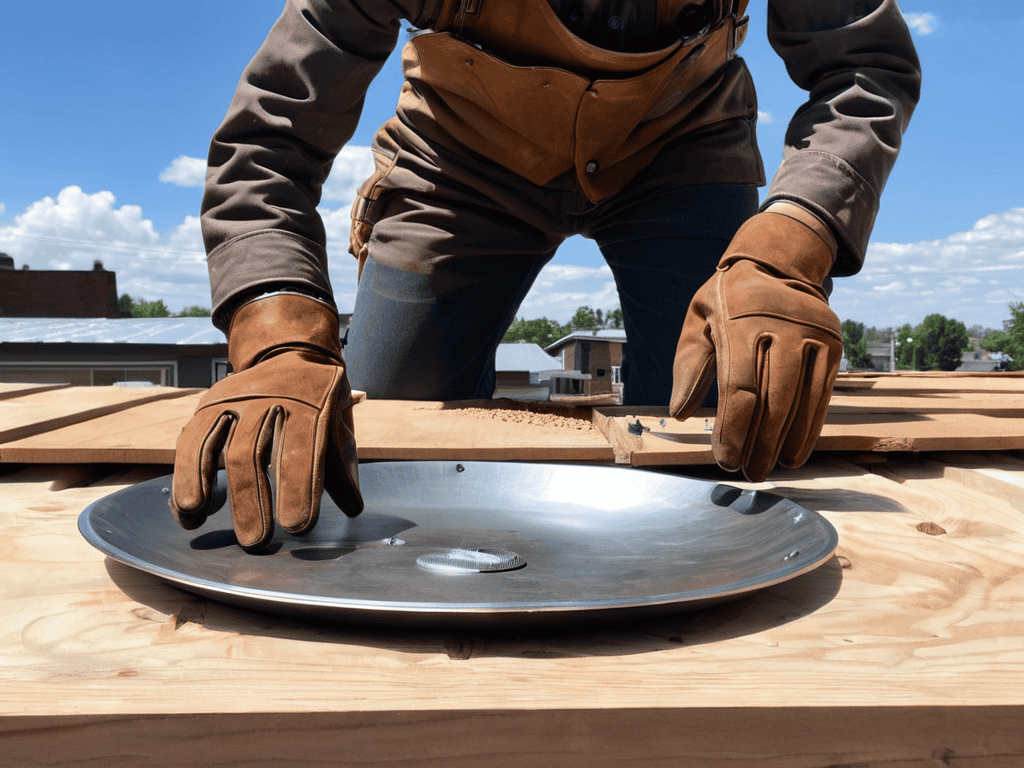
- 6. With the roof mount in place, we can now attach the Starlink dish. This involves carefully lifting the dish and aligning it with the mount’s attachment points. Once aligned, secure the dish using the provided hardware, making sure it’s level and plumb to ensure optimal performance.
- 7. The final step involves connecting the power supply and any other necessary cables to the Starlink dish. It’s essential to follow the manufacturer’s instructions for this process, as improper connections can lead to system malfunctions or even safety hazards. Double-check all connections before powering on the system to ensure everything is working as expected.
- 8. Lastly, test your Starlink connection to ensure it’s working correctly. This involves checking the signal strength, internet speed, and overall system performance. If you encounter any issues, refer to the troubleshooting guide or contact the manufacturer’s support team for assistance. Remember to keep your installation organized, taking note of any specific settings or configurations for future reference.
Embracing Diy Starlink Roof Mount
As I reflect on my experience with installing a Starlink dish, I’m reminded of the importance of weatherproofing starlink equipment to ensure a stable connection. It’s a crucial step that can often be overlooked, but it’s essential for maintaining a reliable signal. I like to think of it as adding a protective cloak to your setup, shielding it from the elements and guaranteeing a smooth browsing experience.
When it comes to troubleshooting, satellite internet obstructions can be a major hurdle. Trees, buildings, and even terrain can interfere with your signal, so it’s vital to choose a location with a clear line of sight to the southern sky. I’ve found that taking the time to assess your surroundings and plan accordingly can make all the difference in achieving a strong, consistent connection. By doing so, you’ll be able to enjoy fast and reliable internet, no matter where you are.
As I reflect on my own journey of bringing vintage charm to modern tech, I’m reminded of the importance of community and resource-sharing in overcoming the inevitable hurdles that arise during DIY projects like the Starlink roof mount. I’ve found that connecting with like-minded individuals can be a game-changer, which is why I always recommend checking out online forums and local groups, such as the t4m melb community, where enthusiasts and experts alike share their experiences and offer valuable insights. By tapping into these networks, you can gain access to a wealth of knowledge, including troubleshooting tips and creative workarounds, that can help you navigate even the most challenging aspects of your project and ultimately unlock a sense of pride and accomplishment that comes with a job well done.
In my own installations, I’ve come to appreciate the value of using high-quality roof mounting hardware requirements. It may seem like a small detail, but trust me, it’s worth the investment. Not only does it provide a secure foundation for your Starlink dish, but it also gives you peace of mind knowing that your equipment is safely in place, even in harsh weather conditions. By taking a meticulous approach to your installation, you’ll be able to enjoy the benefits of satellite internet with confidence.
Unlocking Starlink Dish Installation Tips
As I reflect on my own journey of installing a Starlink roof mount, I’m reminded of the countless hours I spent restoring vintage bicycles, where every detail mattered. Similarly, when it comes to unlocking the full potential of your Starlink dish, it’s the little tips and tricks that can make all the difference. For instance, ensuring your dish is securely fastened to the roof and angled just so, can significantly impact your signal strength. I like to think of it as fine-tuning a vintage bike’s gears – it requires patience, attention to detail, and a passion for getting it just right.
My grandmother, a skilled seamstress, would often say that the devil is in the details. When it comes to Starlink dish installation, this couldn’t be more true. By taking the time to carefully consider factors like roof material, obstructions, and optimal positioning, you can unlock a world of seamless connectivity and endless possibilities. Just as an old key can unlock a new story, these installation tips can unlock a new level of performance and satisfaction from your Starlink system.
Weatherproofing Satellite Internet Hardware
As I tightened the last screw on my DIY Starlink roof mount, I couldn’t help but think of my grandmother’s wisdom: a job well done is a job that withstands the test of time. And what better test than the unpredictable weather? To ensure my satellite internet hardware remains functional and secure, I added a layer of weatherproofing sealant around the dish and mount. This simple step can make all the difference in maintaining a stable connection, even on stormy nights. I also made sure to use UV-resistant materials for the cables and connections, protecting them from the harsh sun.
By taking these extra precautions, I’ve given my Starlink setup the best chance to thrive, no matter the weather. It’s a small detail, but one that speaks to the larger story of preserving and protecting the things we care about – much like the old keys I collect and repurpose into unique pieces, each with its own tale to tell.
Tuning in to the Cosmos: 5 Key Tips for a DIY Starlink Roof Mount
- Measure Twice, Drill Once: Ensuring accurate measurements and alignments to avoid costly mistakes and guarantee a seamless satellite internet experience
- Rise Above the Rest: Selecting the perfect roof mount location to optimize Starlink signal strength and minimize obstructions
- Seal the Deal: Applying the right weatherproofing techniques to protect your satellite internet hardware from the elements and ensure uninterrupted service
- Get a Grip: Choosing the appropriate roofing materials and fasteners to securely hold your Starlink dish in place, come rain or shine
- Test the Waters: Performing thorough signal strength tests after installation to fine-tune your setup and enjoy the best possible online experience
Bringing Vintage Charm to Modern Tech: 3 Key Takeaways
As I reflect on our DIY Starlink roof mount journey, I’m reminded that the true beauty lies not just in the functionality, but in the story each piece tells – just like my grandmother’s antique looms, every restored item is a testament to the past and a bridge to the future
By embracing the DIY spirit and adding our own unique touches, such as repurposing old keys as decorative accents, we can transform a mundane installation into a labor of love that sparks curiosity and conversation
Whether you’re a fellow vintage enthusiast or simply looking to add a personal touch to your modern tech, remember that the art of DIY is not just about following instructions, but about uncovering the hidden narratives in every object and breathing new life into the world around us
A Labor of Love
As we embark on the journey of installing our own DIY Starlink roof mount, let us remember that every screw, every wire, and every carefully placed satellite dish is not just a technical task, but a testament to our ability to merge the past with the present, to weave stories into the fabric of our daily lives, and to unlock the cosmos, one roof at a time.
David Shelton
Conclusion
As we conclude our journey through the world of DIY Starlink roof mounts, it’s essential to reflect on the key takeaways from our step-by-step guide. From carefully planning the installation to ensuring the satellite dish is securely fastened, each detail plays a crucial role in the overall success of the project. By embracing the DIY spirit, we not only save on costs but also develop a deeper appreciation for the technology that brings us closer to the world. Whether you’re a seasoned DIY enthusiast or a newcomer to the world of satellite internet, the sense of accomplishment that comes from completing this project is undeniable.
As you stand back to admire your handiwork, remember that the true beauty of DIY projects lies not just in their functionality, but in the story they tell. Every scratch, every weld, and every carefully placed screw is a testament to your creativity and perseverance. So, go ahead and unlock the full potential of your Starlink roof mount, and let the cosmos be your limit. Who knows what other projects await you, ready to be transformed by your unique touch and creative vision?
Frequently Asked Questions
What are the most common mistakes to avoid when installing a DIY Starlink roof mount?
When installing a DIY Starlink roof mount, I’ve found that common mistakes to avoid include improper sealing, which can lead to water damage, and inadequate support, causing the dish to become misaligned over time. My grandmother used to say, ‘a strong foundation is key to a lasting story’ – wise words that still guide my DIY adventures today.
How can I ensure my Starlink dish is properly secured and leveled for optimal signal strength?
To ensure your Starlink dish is properly secured and leveled, I recommend using a sturdy roof mount and adjusting the dish’s position with a trusty level, just like I do when restoring vintage bicycles – it’s all about the details and finding that perfect balance.
Are there any specific weatherproofing materials or techniques recommended for protecting the Starlink satellite internet hardware from extreme weather conditions?
For weatherproofing, I swear by a mix of silicone sealant and marine-grade epoxy to shield my Starlink setup from the elements. My grandma’s old trunk also yielded some amazing vintage metal covers that I repurposed as protective casings – it’s all about getting creative with what you have on hand!