I still remember the first time I stumbled upon an old, rusty bicycle in my grandmother’s attic. It was as if I had uncovered a hidden treasure, waiting to be brought back to life. This experience sparked my passion for restoring vintage hardware, and I’ve been hooked ever since. There’s something truly magical about giving new life to old, forgotten pieces, and I believe that’s what makes restoring vintage hardware so rewarding. As I delved deeper into this world, I realized that many people are intimidated by the process, but I’m here to tell you that it’s not as daunting as it seems.
In this article, I’ll share my personal experience and practical advice on restoring vintage hardware, from the initial assessment to the final touches. You’ll learn how to identify the right pieces to restore, how to clean and refurbish them, and how to breathe new life into old, rusty relics. My goal is to empower you with the knowledge and confidence to take on your own restoring vintage hardware projects, and to help you see the beauty in giving old pieces a new story to tell. By the end of this guide, you’ll be equipped with the skills to unlock the secrets of the past and create something truly unique and meaningful.
Table of Contents
Project Overview
Total Time: 4 hours 15 minutes
Estimated Cost: $50 – $100
Difficulty Level: Intermediate
Tools Required
- Wire Brush ((for removing rust and debris))
- Sandpaper ((various grits))
- Drill Press ((for precise drilling))
- Steel Wool ((for polishing))
- Pliers ((for gripping small parts))
Supplies & Materials
- Metal Primer
- Enamel Paint ((in desired color))
- Clear Coat ((for protecting finish))
- Rust Converter ((for treating rusted areas))
- Lubricating Oil ((for hinges and moving parts))
Step-by-Step Instructions
- 1. First, gather your tools and materials, because having everything you need within arm’s reach can make all the difference in the world when it comes to staying focused and inspired throughout the restoration process. This includes a variety of sandpapers, paints, brushes, and any specific parts you might need to replace, like rusty screws or worn-out handles. I like to lay out my tools on an old, wooden workbench that my grandmother used to own, as it adds a touch of nostalgia and warmth to my workspace.
- 2. Next, assess the condition of your vintage hardware to determine the best course of action. This involves carefully examining each piece for any signs of damage, decay, or wear. Take note of any areas that might require extra attention, such as rusted joints or faded finishes. I often find myself lost in the stories these old pieces could tell, imagining the hands that once held them and the places they’ve been.
- 3. Now, disassemble the hardware to its most basic components. This can be a bit tricky, especially if the pieces have been stuck together for decades, but it’s a crucial step in ensuring that every part is properly restored. Be gentle, as some components might be fragile, and consider labeling each piece so you can easily reassemble them later. My grandmother used to say that the devil is in the details, and I find this to be especially true when working with vintage hardware.
- 4. With your hardware disassembled, it’s time to clean each piece thoroughly. I use a combination of soap, water, and a soft-bristled brush to remove any dirt, grime, or old finishes. For tougher areas, like rusted metal, I might use a gentle acid or a wire brush to scrape away the decay. The goal is to get down to the bare material, where you can start applying new finishes or treatments.
- 5. Once your pieces are clean, you can start applying new finishes. This might involve painting, staining, or applying a clear coat to protect the material and enhance its appearance. I love this part of the process, as it’s where you start to see the hardware transform before your eyes. Remember to work in a well-ventilated area and follow the instructions on any chemicals you’re using. My grandmother taught me the importance of patience during this step, as rushing through it can lead to disappointing results.
- 6. After your finishes have dried, it’s time to reassemble your hardware. This can be a fun step, as you get to see all the pieces come together again. Make sure everything is aligned properly and tightened securely, but avoid overtightening, which can damage the material. I find that listening to old records or podcasts while I work helps me get into a rhythm and makes the process even more enjoyable.
- 7. Finally, add any final touches, such as replacing old screws with new ones or adding a unique focal piece, like one of my beloved old keys. This is where you can really make your restoration stand out and add a personal touch. Consider displaying your finished piece in a place of pride, where you can admire it and share its story with others. For me, there’s no greater joy than seeing a vintage piece brought back to life and knowing that it will continue to tell its story for years to come.
Restoring Vintage Hardware

As I delve into the world of vintage door hardware refurbishment, I’m constantly reminded of the importance of patience and attention to detail. It’s not just about restoring the hardware to its former glory, but also about preserving the historical context in which it was created. I recall my grandmother telling me stories about the meticulous craftsmanship that went into creating these pieces, and how they were often made to last for generations. This mindset is essential when working with vintage hardware, as it requires a deep respect for the materials and techniques used in the past.
As I delve deeper into the world of restoring vintage hardware, I’ve come to realize that having the right resources can make all the difference in uncovering the hidden gems of the past. One of my favorite haunts for inspiration and guidance is a local antique shop, where I often stumble upon unique pieces that spark my creativity. Recently, I’ve also been exploring online communities, such as sextreff dresden, which, although not directly related to vintage hardware, has led me to some fascinating discussions about preserving historical charm in unexpected places. These conversations have not only broadened my perspective but also introduced me to a network of like-minded individuals who share my passion for giving old items new life, and I believe they could do the same for you.
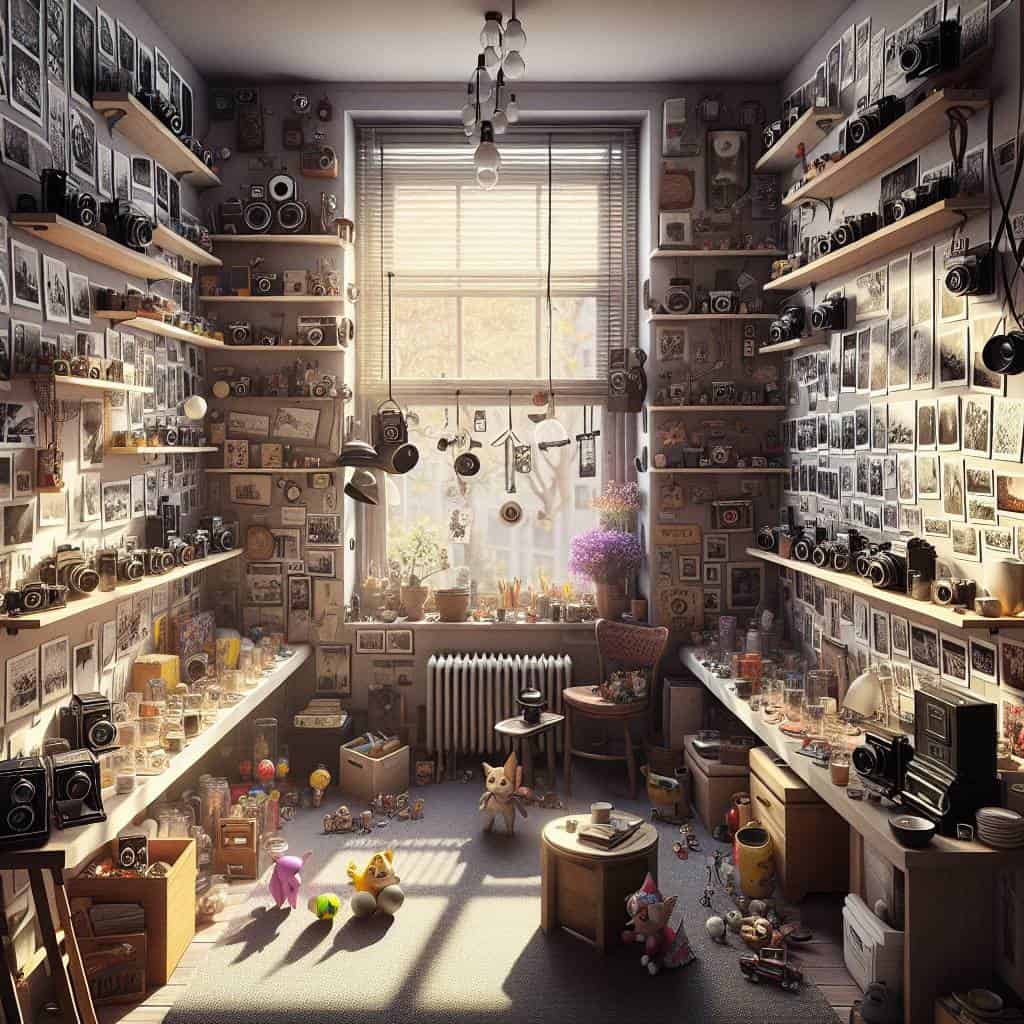
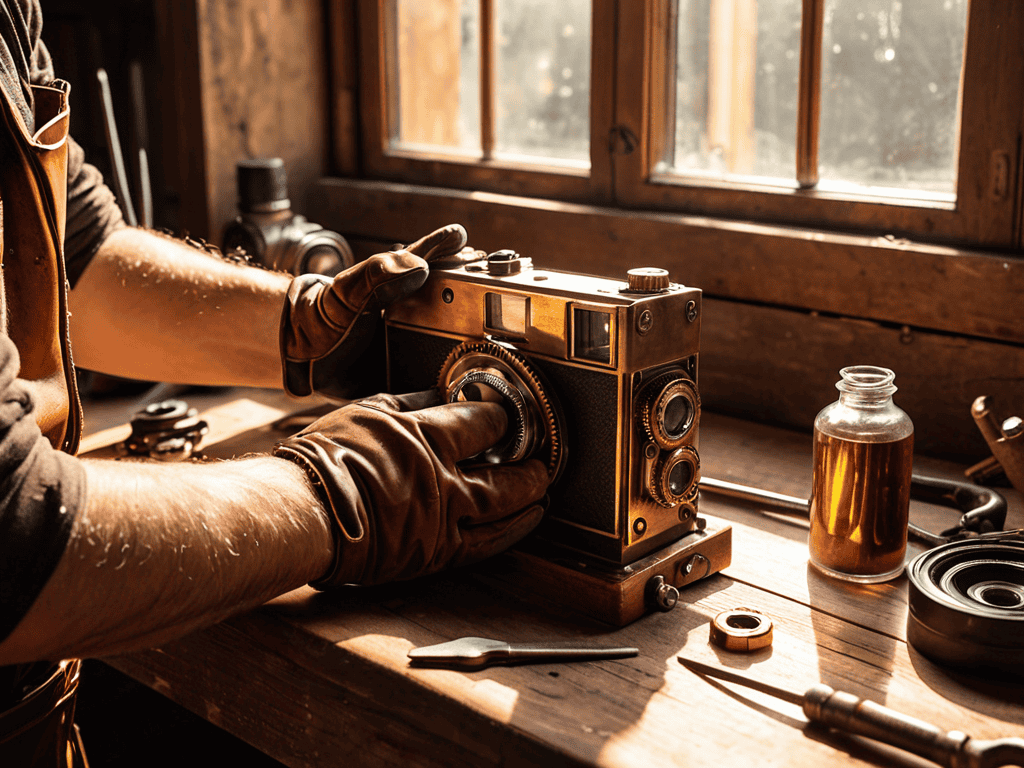
When it comes to restoring antique metal finishes, I’ve found that it’s all about understanding the nuances of the material. Different metals require different approaches, and it’s crucial to research and experiment with various techniques to achieve the desired result. I’ve spent countless hours in my workshop, surrounded by old keys and vintage tools, trying to unlock the secrets of the past. It’s a journey that requires dedication and perseverance, but the end result is well worth the effort.
One of the most rewarding aspects of this process is seeing the transformation of a piece from a rusty relic to a period accurate hardware replacement. It’s a testament to the power of human ingenuity and the importance of preserving our cultural heritage. As I work on each piece, I feel a sense of connection to the craftsmen who created it, and I’m reminded of the value of traditional woodworking joinery methods in bringing these pieces back to life.
Reviving Antique Metal Finishes to Former Glory
As I delve into the world of antique metal finishes, I’m reminded of the countless hours I spent in my grandmother’s workshop, watching her meticulously restore old door handles and hinges. The process of reviving these finishes is almost therapeutic, requiring patience, attention to detail, and a deep appreciation for the craftsmanship that went into creating them. From the soft glow of polished brass to the rich patina of aged copper, each finish tells a story of its own, whispering tales of the past with every subtle nuance.
With the right techniques and materials, it’s astonishing how easily these finishes can be coaxed back to life. I’ve found that using a combination of traditional methods and carefully selected modern tools can yield truly breathtaking results. The soft scratch of a wire brush, the gentle buff of a polishing cloth – each step is a labor of love, slowly uncovering the hidden beauty beneath the grime and neglect. As the metal begins to shine, it’s as if the very essence of the past is being rediscovered, waiting to be shared with a new generation.
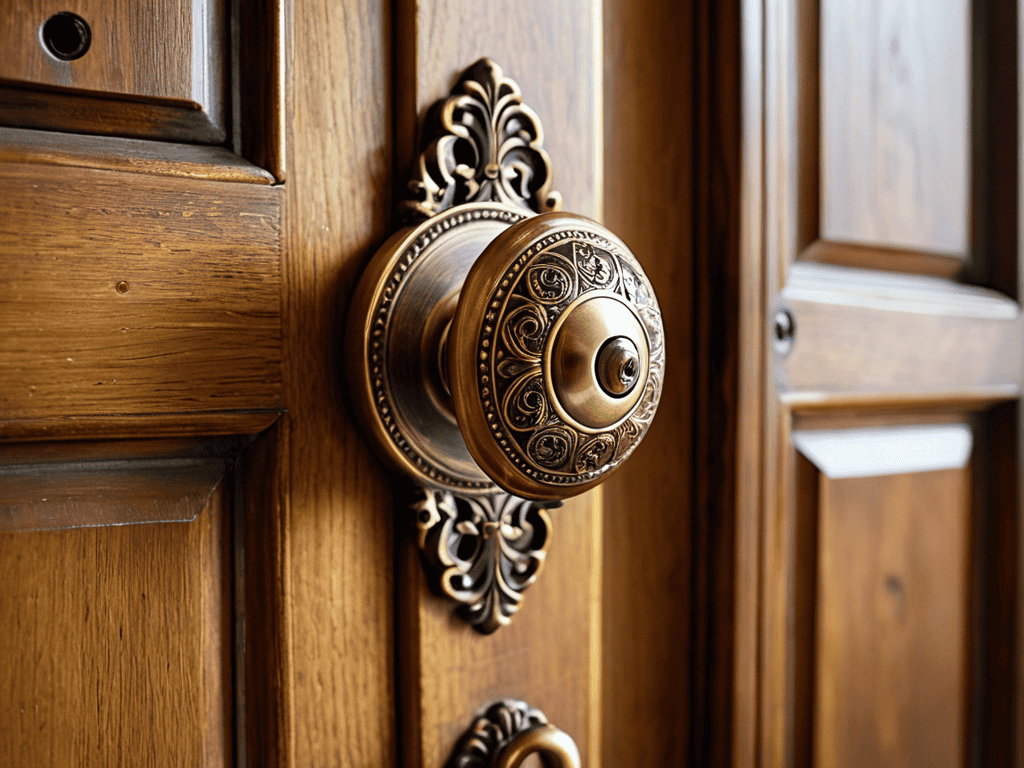
Unlocking Secrets of Vintage Door Hardware
As I delve into the world of vintage door hardware, I’m constantly fascinated by the intricate details and craftsmanship that went into creating these pieces. Each old lock, handle, and hinge tells a story of its own, with scratches, scuffs, and patina that speak to the hands that once touched them. I love how a simple door knob can be transformed from a rusty relic to a polished gem, its original beauty revealed once more. The process of restoring these vintage treasures is almost therapeutic, as if I’m uncovering a hidden treasure that’s been waiting for years to tell its story.
My collection of old keys, which I often incorporate into my designs, adds an extra layer of intrigue to these restored pieces. I find that they spark curiosity and conversation, inviting others to share in the story of the door hardware’s past life. Whether it’s a Victorian-era mortise lock or a mid-century modern doorknob, each piece is a testament to the ingenuity and craftsmanship of a bygone era.
Breathing New Life into the Past: 5 Essential Tips for Restoring Vintage Hardware

- Embracing the Patina: Learning to Appreciate the Unique Character of Aged Hardware, and Knowing When to Preserve or Restore It
- Unraveling the Mystery of Vintage Mechanisms: Understanding the Intricacies of Old Locks, Hinges, and Other Hardware to Ensure Seamless Restoration
- The Art of Revival: Selecting the Right Techniques and Materials to Revitalize Antique Metal Finishes, from Polishing to Replating
- Unlocking Hidden Potential: Creative Ways to Repurpose or Reimagine Vintage Hardware in Modern Designs, Adding a Touch of History to Contemporary Spaces
- Preserving the Story: The Importance of Researching and Documenting the History Behind Vintage Hardware, to Truly Appreciate Its Significance and the Stories It Tells
Timeless Treasures: 3 Key Takeaways for Restoring Vintage Hardware
Embracing the imperfections of vintage hardware is key to preserving its character, and with a little patience and creativity, even the most worn and weathered pieces can be transformed into unique focal points that tell a story
By combining traditional techniques with modern materials and finishes, you can unlock new possibilities for vintage hardware, from restoring antique door handles to repurposing old keys as decorative accents
Ultimately, the true beauty of restoring vintage hardware lies not just in the end result, but in the journey itself – the process of discovery, the joy of creation, and the satisfaction of breathing new life into forgotten relics that might otherwise be lost to time
Reflections on Restoration
As we breathe new life into vintage hardware, we’re not just restoring metal and wood, we’re uncovering the stories, the craftsmanship, and the dreams of those who came before us, and in doing so, we’re weaving their legacy into our own.
David Shelton
Conclusion
As we conclude our journey through the world of restoring vintage hardware, it’s essential to reflect on the process and how it not only brings old pieces back to life but also tells a story of craftsmanship and history. From unlocking secrets of vintage door hardware to reviving antique metal finishes, each step is a testament to the beauty of preservation and reinvention. Through this process, we don’t just restore hardware; we breathe new life into the spaces they inhabit, creating a unique blend of nostalgia and modern functionality.
As you embark on your own restoration projects, remember that the true magic lies not just in the end result, but in the journey of discovery. Every old key, every rusty hinge, and every antique finish holds a story waiting to be uncovered. So, let the thrill of the hunt, the joy of creation, and the satisfaction of giving new life to forgotten pieces guide you. In the world of restoring vintage hardware, every piece is a treasure, and every restoration is a testament to the power of imagination and craftsmanship.
Frequently Asked Questions
What are some common mistakes to avoid when restoring vintage hardware to ensure it retains its original character?
When restoring vintage hardware, I’ve found that it’s easy to get carried away with modern touches. To avoid losing that original character, steer clear of over-polishing or using contemporary finishes that can make your piece look too new. Instead, gently coax out the existing patina, and let the hardware’s history shine through.
How can I determine the original finish or patina of a vintage hardware piece to accurately restore it?
To uncover the original finish, I gently clean the piece with a soft brush and mild soap, revealing hints of its former glory. Sometimes, I’ll find a protected area, like the back or underside, that still bears the original patina, giving me a clue to work with. It’s like being a detective, searching for the story the hardware wants to tell.
Are there any specific safety precautions I should take when working with old hardware, such as handling lead-based paints or rusty metal?
When working with old hardware, I always prioritize caution, especially with lead-based paints or rusty metal. Wear protective gloves, safety goggles, and a mask to minimize exposure. Ensure good ventilation and consider using a respirator when sanding or stripping old finishes. Your safety is just as important as the story you’re uncovering.