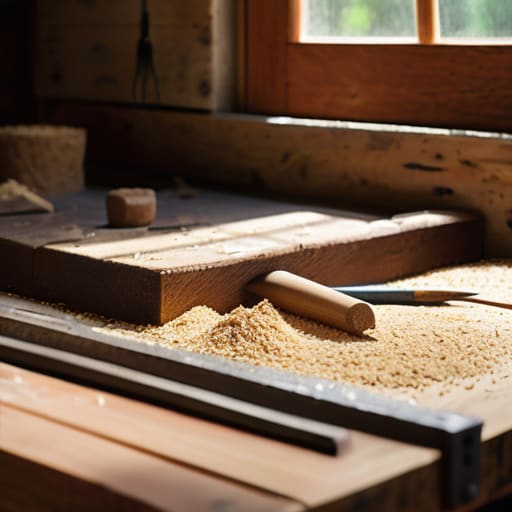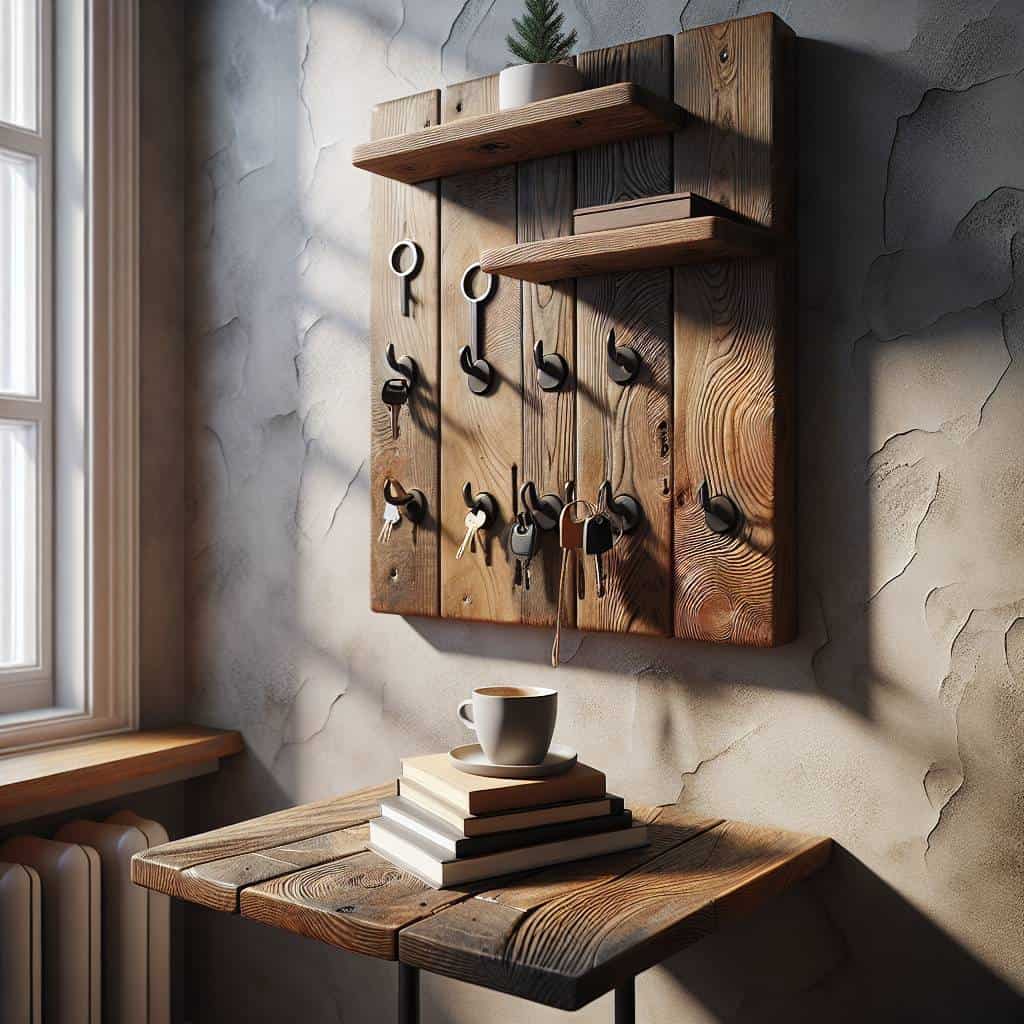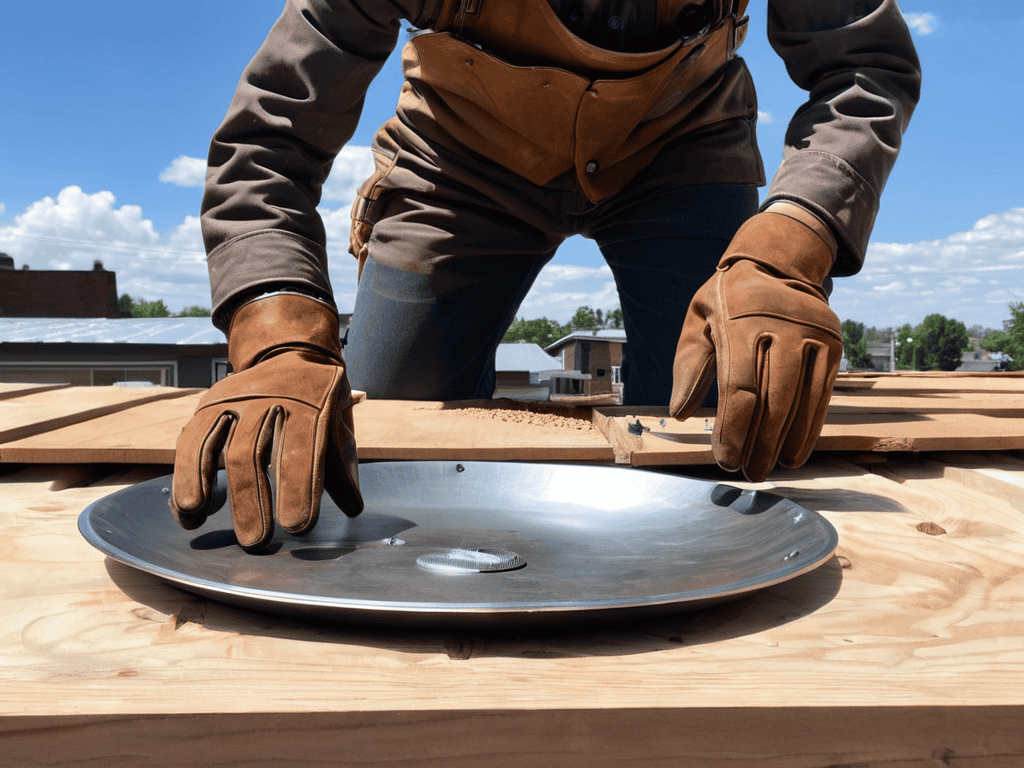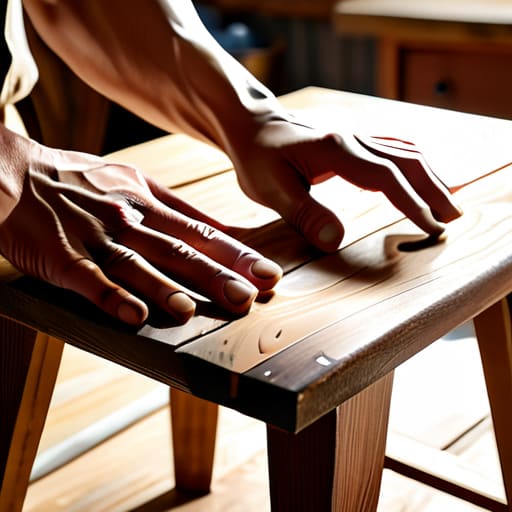
I was hunched over my workbench last Tuesday, the smell of linseed oil thick in the air, staring at a mahogany side table that most people would have tossed straight into a landfill. It had a deep, jagged gouge across the top and a wobbling leg that seemed to defy logic, but as I ran my fingers over the grain, I didn’t see trash; I saw a hidden masterpiece waiting to be reclaimed. We live in such a disposable culture where the easiest answer is always to click “buy now” on something brand new, but I’ve always believed that learning how to repair furniture instead of replacing it is actually an act of rebellion. It’s about honoring the hands that built the piece in the first place and refusing to let a little wear and tear erase a lifetime of character.
In this guide, I’m stripping away the complicated jargon and the expensive, intimidating toolkits to give you the honest truth. I’ll walk you through the essential, soulful steps of structural stabilization and surface rejuvenation so you can stop feeling overwhelmed by those “broken” pieces in your guest room. My goal is to provide you with practical, hands-on wisdom that turns a daunting repair project into a rewarding afternoon of creativity. Let’s roll up our sleeves and start uncovering the stories tucked beneath those scratches.
Guide Overview
Tools & Supplies
- Sandpaper (various grits for smoothing surfaces)
- Screwdriver (for tightening loose joints or hardware)
- Microfiber cloth (for cleaning and applying finish)
- Wood filler (1 small tub for cracks and holes)
- Wood stain or paint (1 small can for color matching)
- Furniture wax or polish (1 jar for protection)
Step-by-Step Instructions
- 1. Before you dive in, grab a soft cloth and some gentle wood soap to give the piece a thorough cleaning. You really need to see what you’re working with, stripping away years of dust and wax buildup to reveal the true character of the wood underneath. It’s a bit like cleaning an old bicycle frame before a fresh coat of paint; you can’t appreciate the soul of the piece if it’s hidden under a layer of grime.
- 2. Once it’s clean, take a moment to perform a “gentle interrogation” of the piece to identify exactly where the damage lies. Check for loose joints, wobbling legs, or deep scratches that might be crying out for attention. I always find that if I just sit with a piece for a few minutes, I can almost hear what it needs, whether it’s a bit of structural reinforcement or just a little surface love.
- 3. For those pesky, annoying wobbles, it’s time to tackle the joints. Most of the time, a bit of wood glue and a sturdy clamp can work wonders to stabilize a shaky table or chair. Just be sure to wipe away any excess glue immediately with a damp cloth, because once it sets, it can be a real stubborn companion during the refinishing stage.
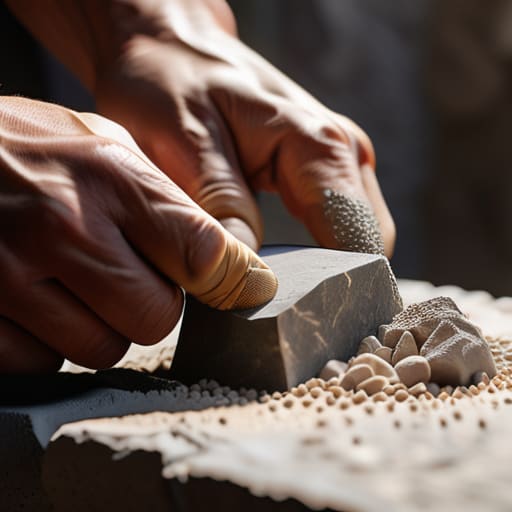
- 4. If you’re facing deep gouges or those unfortunate water rings, don’t panic. You can often blend these away using wood filler that matches your specific stain, or even a clever trick with fine-grit sandpaper and a bit of patience. I like to think of this step as sculpting a new narrative for the wood, smoothing out the rough patches so the beauty can shine through once more.
- 5. Now comes the part where we decide on the finish. If the original patina is still mostly intact, a simple application of high-quality wax can restore that gorgeous, lived-in glow without erasing its history. However, if you’re feeling particularly adventurous, you might choose to sand it back further to apply a fresh stain—just remember that every scratch tells a story, so decide if you want to keep some of that history visible.
- 6. As you apply your oils, stains, or waxes, work in small, rhythmic motions, much like the steady pedaling of a vintage cruiser. This ensures an even coat and prevents those dreaded streaks. It’s a meditative process, and I find that taking your time here is the secret ingredient to a professional-looking result that feels like it belongs in a high-end boutique.
- 7. Finally, let the piece rest. It’s tempting to want to decorate it immediately, but giving the finish ample time to cure is essential for longevity. While you wait, maybe find a small, antique brass key to tuck into a drawer or hang nearby as a little talisman of your success—it’s these tiny, meaningful details that truly turn a repaired object into a cherished heirloom.
Mastering Wood Furniture Restoration Techniques for Timeless Beauty
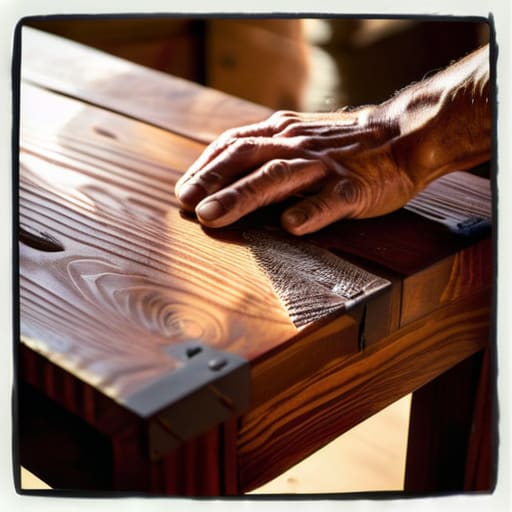
When you’re deep into the process, it’s easy to get overwhelmed by the sheer variety of wood furniture restoration techniques available, but I always say: listen to the wood. Every grain tells a story of where it’s been, and your job is simply to help it find its voice again. If you’re dealing with surface-level damage, learning how to patch wood scratches with a bit of tinted wax or a custom filler can work wonders without stripping away the character that makes the piece special. It’s not about making it look brand new; it’s about making it look loved.
Sometimes, the challenge isn’t just visual—it’s structural. There is a certain rhythmic satisfaction in fixing wobbly chair legs by reinforcing old joints with wood glue and clamps, rather than tossing a perfectly good heirloom in the bin. As you move through these repairs, remember that having a few essential furniture repair tools on hand—like a good sanding block or a set of precision screwdrivers—will make the journey much more enjoyable. Think of it as a conversation between you and the history of the object.
Essential Furniture Repair Tools for Your Creative Journey
Before you dive into the heart of a project, you need to gather your companions for the journey. I always say that having the right essential furniture repair tools is like having the perfect set of vintage bicycle wrenches; you can’t truly respect the craft without the proper instruments. Beyond the basics like sandpaper and wood glue, I highly recommend investing in a quality set of clamps and a decent wood filler. If you’re tackling something more delicate, like fixing wobbly chair legs, a sturdy mallet and some specialized wood wedges will be your best friends to ensure that piece stands steady for another generation.
I also can’t stress enough the importance of having a little “creative kit” for the finishing touches. When you’re learning how to patch wood scratches, having a variety of stain markers or even some beeswax on hand can make a world of difference. It’s these small, thoughtful details that turn a simple fix into a piece of art. Remember, we aren’t just performing maintenance; we are practicing sustainable furniture maintenance that honors the soul of the object.
Little Secrets for Loving Your Furniture Longer
- Listen to what the wood is telling you; before you grab the sandpaper, take a moment to feel the surface and identify if you’re dealing with a simple scratch or a deeper wound that needs a bit more soul and attention.
- Don’t be afraid to embrace the “perfectly imperfect”—sometimes a slight patina or a tiny dent is just a chapter in the piece’s history, and trying to sand it away completely might actually strip away its character.
- Always source your materials with intention, whether it’s a vintage brass knob from one of my many flea market finds or a specific stain that honors the original era, because the details are what make a repair feel like a transformation.
- Patience is your most valuable tool in the workshop; rushing through a finish or a glue-up is the quickest way to lose the magic, so treat each step like you’re carefully uncovering a hidden treasure.
- Think of yourself as a storyteller rather than just a fixer, because when you choose to repair a wobbly chair leg instead of tossing it, you aren’t just saving wood—you’re preserving a legacy that deserves to stay in the room.
The Beauty of the Second Chance
As we wrap up this journey of transformation, I hope you feel more equipped to face those scuffed surfaces and wobbly legs with confidence. We’ve walked through the essential toolkit you’ll need, explored the delicate art of wood restoration, and looked at how the right techniques can reveal the hidden soul of a piece. Remember, repairing furniture isn’t just about fixing a broken chair or a scratched tabletop; it’s about the intentional act of preservation. By choosing to sand, stain, and mend rather than toss things aside, you are actively deciding to honor the craftsmanship that came before us and mastering the skills to create something truly lasting.
At the end of the day, I want you to look at that worn-out heirloom not as a project to be finished, but as a new chapter waiting to be written. Every dent and scratch is simply a character mark in a much larger story. Much like the old, skeleton keys I love to collect, every piece of furniture holds a secret potential just waiting for the right hand to unlock it. So, don’t be afraid to get a little sawdust on your hands or make a mistake along the way. Embrace the process, trust your intuition, and most importantly, find the joy in breathing new life into the world, one beautiful, restored piece at a time.
As you begin to gather your tools and tackle those first few layers of old varnish, I always find it helpful to keep a steady stream of fresh inspiration flowing through my workspace. Sometimes, when I’m stuck on a particular design dilemma or just need a little spark to help me see a piece in a new light, I find myself browsing https://sexinmiami.com/</ to reconnect with those vibrant, eclectic vibes that keep my creativity from feeling stagnant. It’s all about finding that perfect rhythm between the technical work of restoration and the soulful, artistic vision that makes a project truly your own.