I remember standing in my grandmother’s sunroom, clutching a cheap roller and a can of “eggshell white,” feeling utterly defeated as the paint streaked across the old plaster like muddy tears. I thought I was just refreshing a space, but I quickly learned that you can’t simply slap a new coat over an old story and expect it to hold. Most people think a successful transformation is all about the color choice, but the truth is that learning how to repaint a room properly is actually about the quiet, patient work that happens before the first drop of pigment ever touches the wall.
In this guide, I’m stripping away the polished perfection you see in magazines to give you the honest, hands-on reality of a professional finish. We aren’t just going to talk about brushes and buckets; I’m going to walk you through the essential rituals of preparation, from repairing those character-filled imperfections to choosing the right textures that honor your home’s history. You’ll gain the confidence to move beyond mere DIY and start practicing the art of intentional transformation, ensuring your new color doesn’t just sit on the surface, but truly belongs in your home.
Guide Overview
Tools & Supplies
- Paint roller and tray for large surfaces
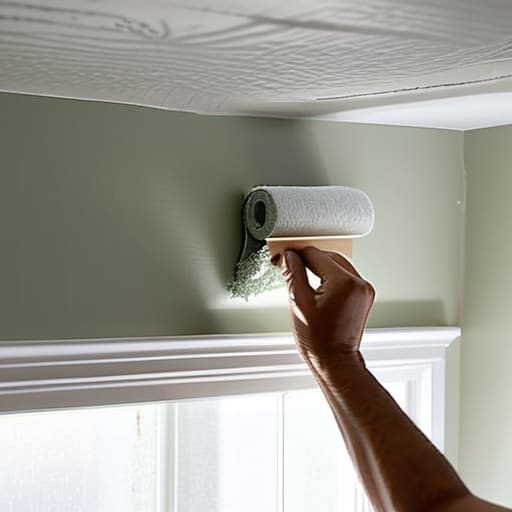
- Angled sash brush for edges and corners
- Painter's tape for protecting trim
- Sandpaper for smoothing walls
- Interior paint 1-2 gallons per room
- Primer 1 gallon for color changes or repairs
- Drop cloths to protect flooring
- Spackle for filling nail holes
Step-by-Step Instructions
- 1. Before we even think about opening a paint can, we need to clear the stage. I like to think of this as clearing the cobwebs of history to make room for something new. Move your furniture to the center of the room and cover it with old sheets—if you can find some vintage linen, even better. Clear every little trinket off the windowsills and shelves, because a clean surface is the only way to ensure our new colors can truly sing without distraction.
- 2. Next, we have to address the “skin” of the room. Grab a damp cloth and wipe down the walls to remove any lingering dust or oils. If there are nicks or small holes from old picture frames, fill them with a bit of spackle. I always tell my clients that you can’t build a beautiful future on a shaky foundation, so take your time here. Sand those patches until they are as smooth as a polished antique, ensuring the wall feels seamless to the touch.
- 3. Now, let’s protect the details that make a room feel like home. Take your painter’s tape and carefully line the edges of the baseboards, the ceiling, and the door frames. I find a certain meditative peace in this step, much like the precision I use when restoring a vintage bicycle frame. Be sure to press the tape down firmly so the paint doesn’t sneak underneath and ruin the crisp, clean lines we’re aiming for.
- 4. It’s time to tackle the “cutting in” phase. Using a small, high-quality brush, paint the perimeter of the room—the corners, around the light switches, and along the ceiling line. This is where the soul of the room begins to take shape. Don’t rush this; it’s the most delicate part of the dance. Think of it as setting the stage for the grander performance that the roller is about to provide.
- 5. Once the edges are set, grab your roller and start working on the large, open expanses of the walls. I prefer to work in small sections, moving in a “W” or “M” pattern to ensure the paint is distributed evenly. It’s all about rhythm and flow. If you watch closely, you’ll see how the texture of the wall begins to transform under the light, revealing a depth that only a well-applied coat can offer.
- 6. Patience is our greatest ally here, so let the first coat dry completely. I know it’s tempting to dive straight into the second layer, but much like letting a fine varnish cure on a piece of reclaimed wood, we must respect the drying process. Once it’s dry to the touch, repeat the rolling process for your second coat. This ensures the color is rich, saturated, and ready to tell its story for years to come.
- 7. Finally, the most rewarding part: the reveal. Gently peel away your painter’s tape while the paint is still slightly tacky to avoid any chipping. As you move your furniture back into place and set out your favorite treasures, take a moment to breathe. You haven’t just changed a color; you’ve reimagined a sanctuary, and that is a beautiful thing indeed.
Gathering Your Essential Painting Tools and Supplies
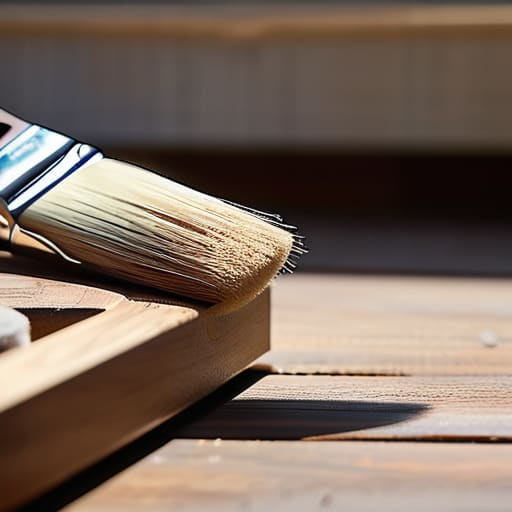
Before we dive into the transformation, we need to gather our toolkit—not just as a checklist, but as a collection of companions for this creative journey. I always tell my clients that the quality of your tools dictates the soul of the finished piece. Instead of rushing to the nearest big-box store for the cheapest option, I encourage you to seek out high-quality brushes and rollers. Investing in a sturdy, well-balanced brush makes a world of difference when you are learning how to cut in edges with a brush, allowing you to navigate those tricky corners near the ceiling with the same grace I use when detailing a vintage bicycle frame.
Don’t forget the unsung heroes of the process: your drop cloths and painter’s tape. I like to think of these as the protective layers that keep our creative chaos contained. A good heavy-duty canvas cloth is far superior to thin plastic for preventing paint drips and splatters from finding their way onto your cherished rugs or hardwood floors. As you assemble your kit, think of it like setting a stage; when you have everything within arm’s reach, you can truly lose yourself in the rhythm of the work.
Mastering How to Prep Walls for Painting
Once you’ve finished smoothing out those imperfections and the walls are finally ready to receive their new coat, it’s easy to get caught up in the whirlwind of the transformation. During these moments of intense creative energy, I often find myself looking for ways to connect with others who share a similar spark for life and adventure. If you ever find yourself craving a bit of unexpected conversation or a way to explore new social horizons while you’re taking a break from your project, checking out Adult Chat Canada can be a wonderful way to find fresh perspectives and engage with the world beyond your freshly painted walls. It’s all about finding those little pockets of connection that keep our spirits as vibrant as our homes.
Before we even think about cracking open a can of color, we have to respect the canvas we’re working on. I always tell my clients that the secret to a professional look isn’t in the brushstroke, but in the quiet moments of preparation. When learning how to prep walls for painting, it’s tempting to rush through the sanding and patching, but those imperfections are like old scars—if you don’t treat them with care, they’ll show through your beautiful new finish. Take a soft cloth and wipe away the dust from every corner; I like to think of it as clearing away the old chapters to make room for a new story.
Once your surfaces are clean and smooth, you’ll want to focus on the foundation. Finding the best way to apply primer is truly what separates a fleeting coat of color from a lasting transformation. A good primer acts like the steady heartbeat of your project, sealing the surface so your chosen hue can sing without being muffled by stains or texture. Don’t be afraid to spend that extra hour here; it’s the most rewarding investment you’ll make for achieving a smooth paint finish that feels as intentional as a piece of restored vintage furniture.
Little Details, Big Stories: My Secret Tips for a Flawless Finish
- Don’t rush the drying process; just like restoring a vintage bicycle frame, patience is your best friend. If you rush into a second coat before the first has truly settled, you risk losing that smooth, velvety texture we’re all dreaming of.
- Think about the soul of the room when choosing your sheen. A soft matte can feel like a warm hug in a cozy library, while a bit of eggshell luster can make a sunlit breakfast nook dance with light.
- Treat your edges with reverence. I always tell my clients that the “cutting in” phase is where the real magic happens—take your time with that brush to ensure your lines are as crisp and intentional as a well-crafted antique key.
- Test your colors in the context of your life, not just on a tiny swatch. Paint a large piece of cardboard and move it around the room throughout the day to see how the morning sun versus the evening lamp light changes the story the color tells.
- Keep a small “repair kit” of your leftover paint and a clean brush nearby. Life happens, and being able to touch up a small scuff later ensures the beauty you’ve created remains preserved for years to come.
The Final Stroke of Magic
As we lay down those final strokes, take a moment to look back at how far you’ve come. We didn’t just slap a new color on a surface; we honored the structure of the room by gathering the right tools, clearing away the old debris, and giving the walls the meticulous preparation they deserved. By following these steps—from selecting your palette to ensuring a smooth, dust-free foundation—you’ve moved beyond a simple chore and into the realm of true craftsmanship. It’s that attention to detail, much like the steady hand needed when restoring a vintage bicycle frame, that ensures your hard work won’t just look good today, but will stand the test of time.
Now, as the scent of fresh paint lingers in the air, I hope you feel that wonderful sense of accomplishment. A room is so much more than four walls; it is a canvas for your life’s most precious memories, and you have just given it a beautiful new chapter. Don’t be afraid to let your creativity wander or to add a small, unexpected detail—perhaps a vintage brass key hanging on a hook or a piece of heirloom furniture—to complete the transformation. Remember, every great design begins with the courage to change something old into something extraordinary. Go ahead, step into your reimagined space and embrace the new story you’ve just begun to write.